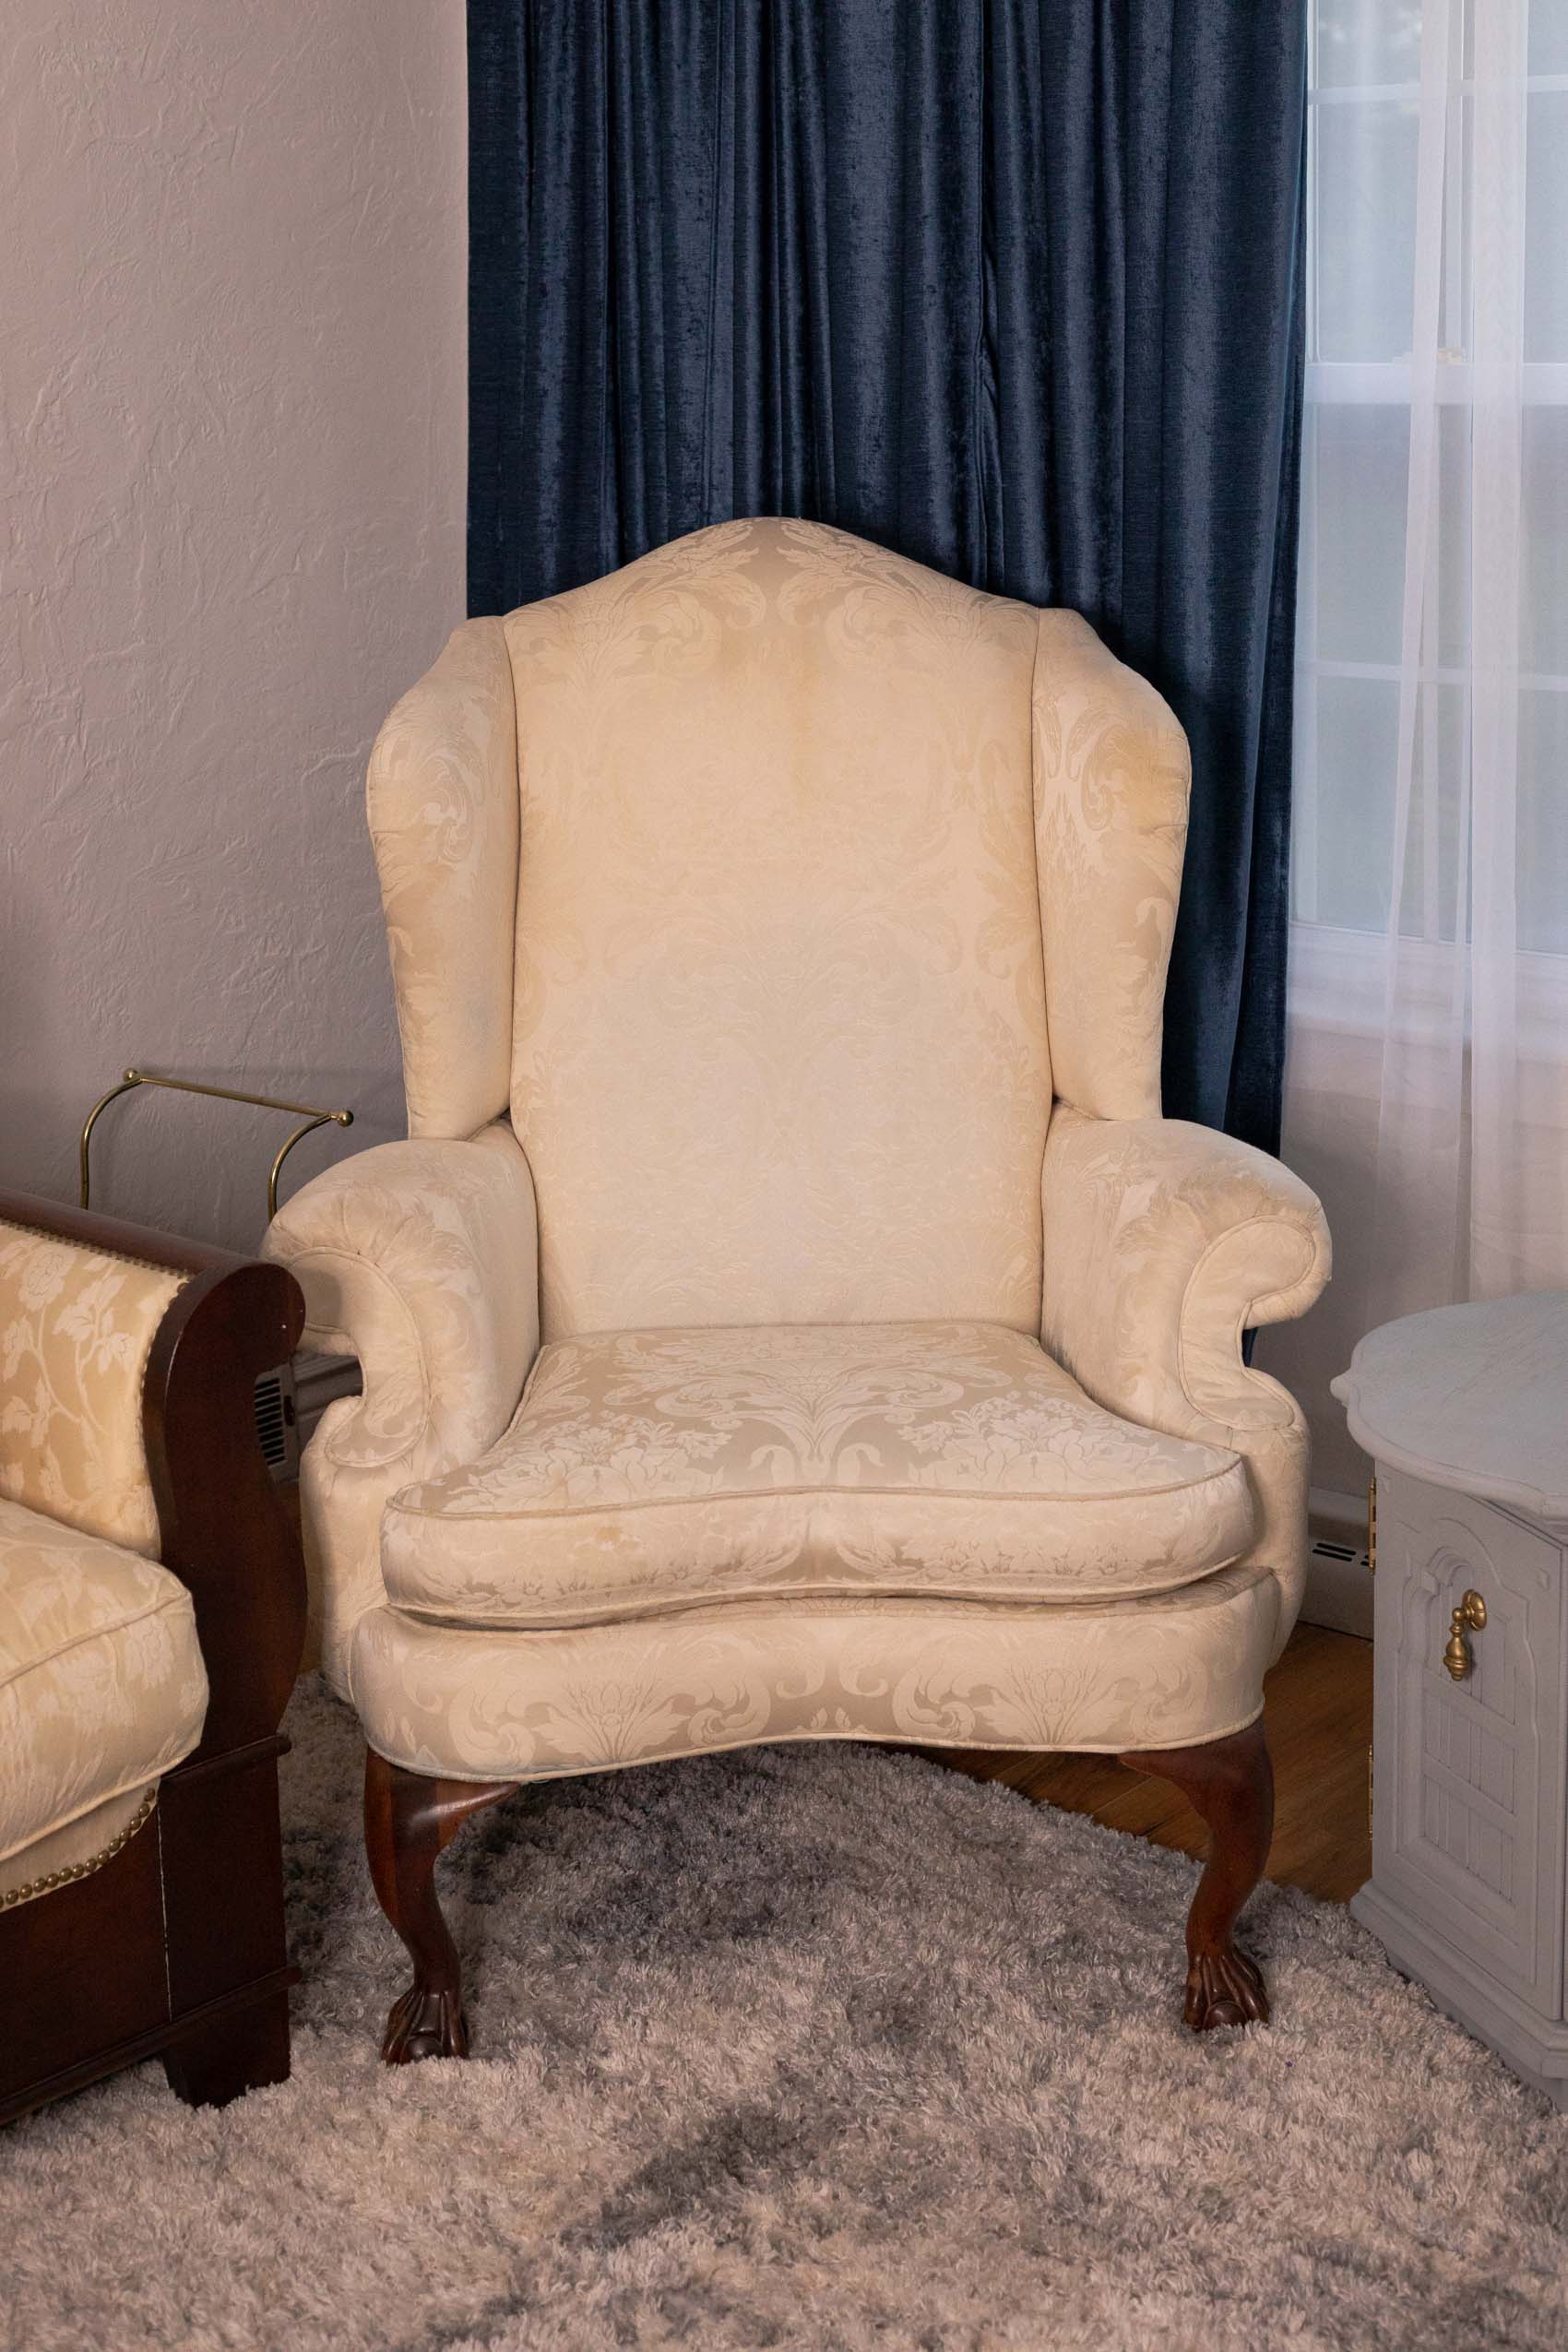
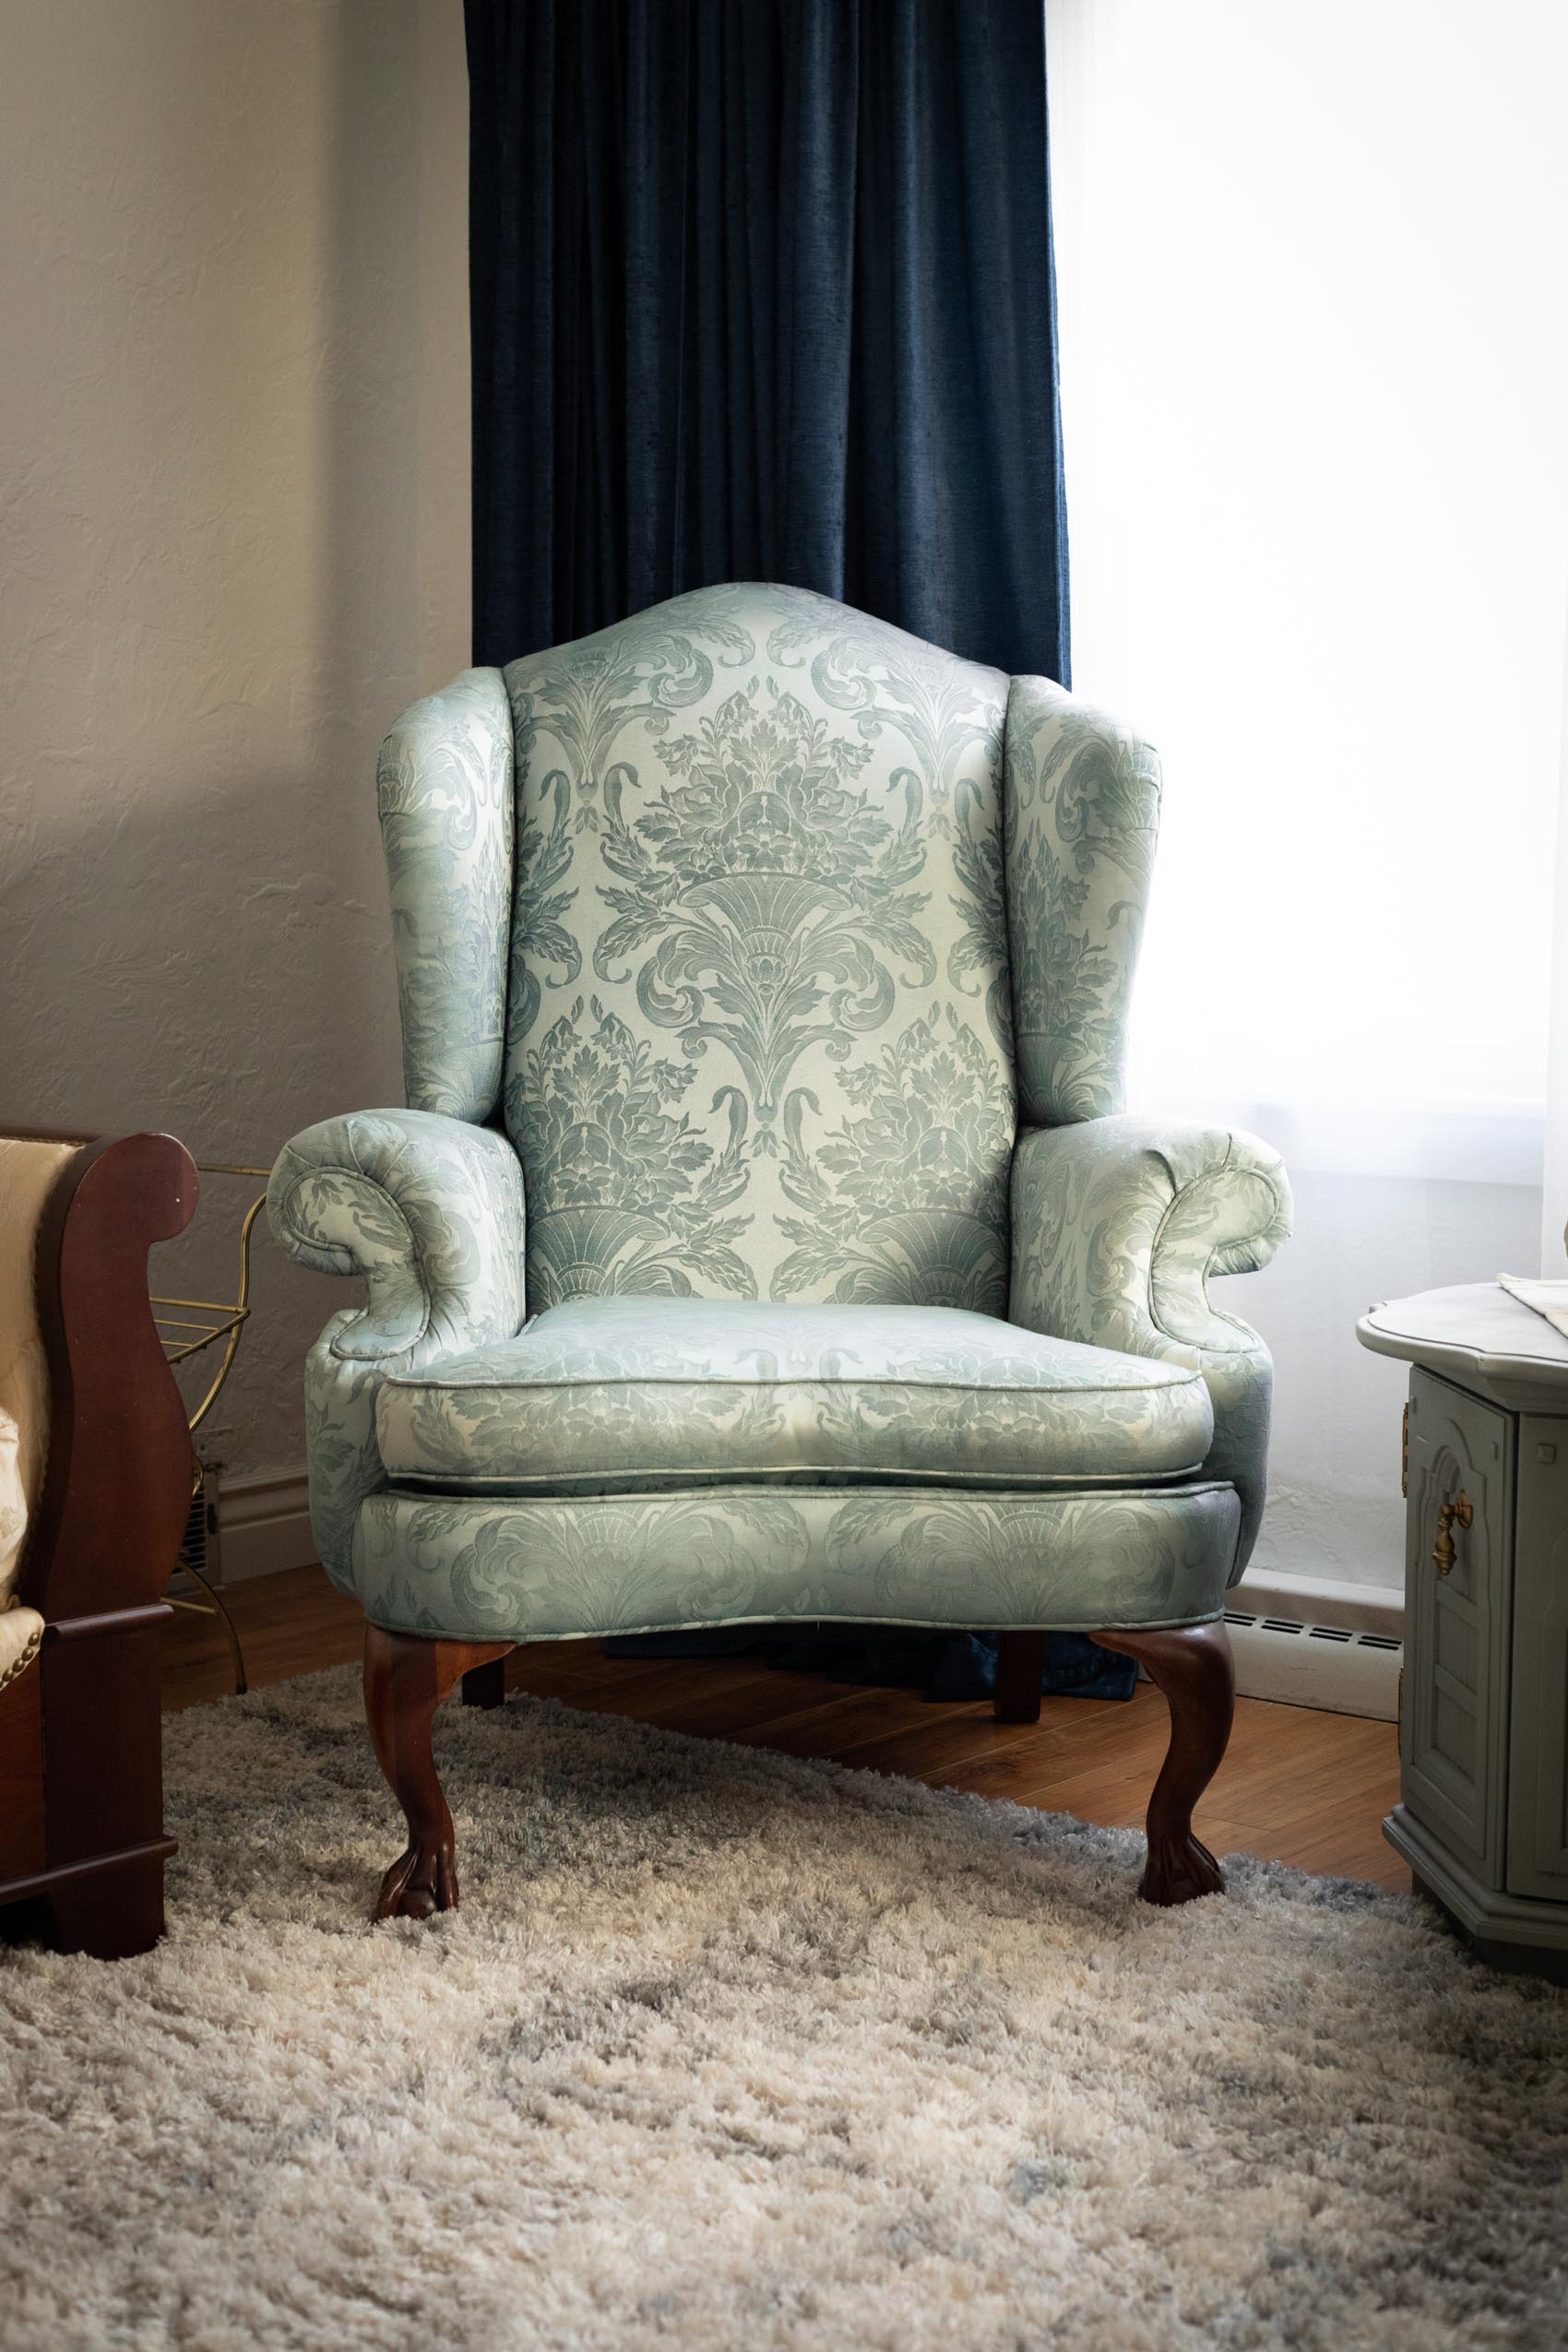
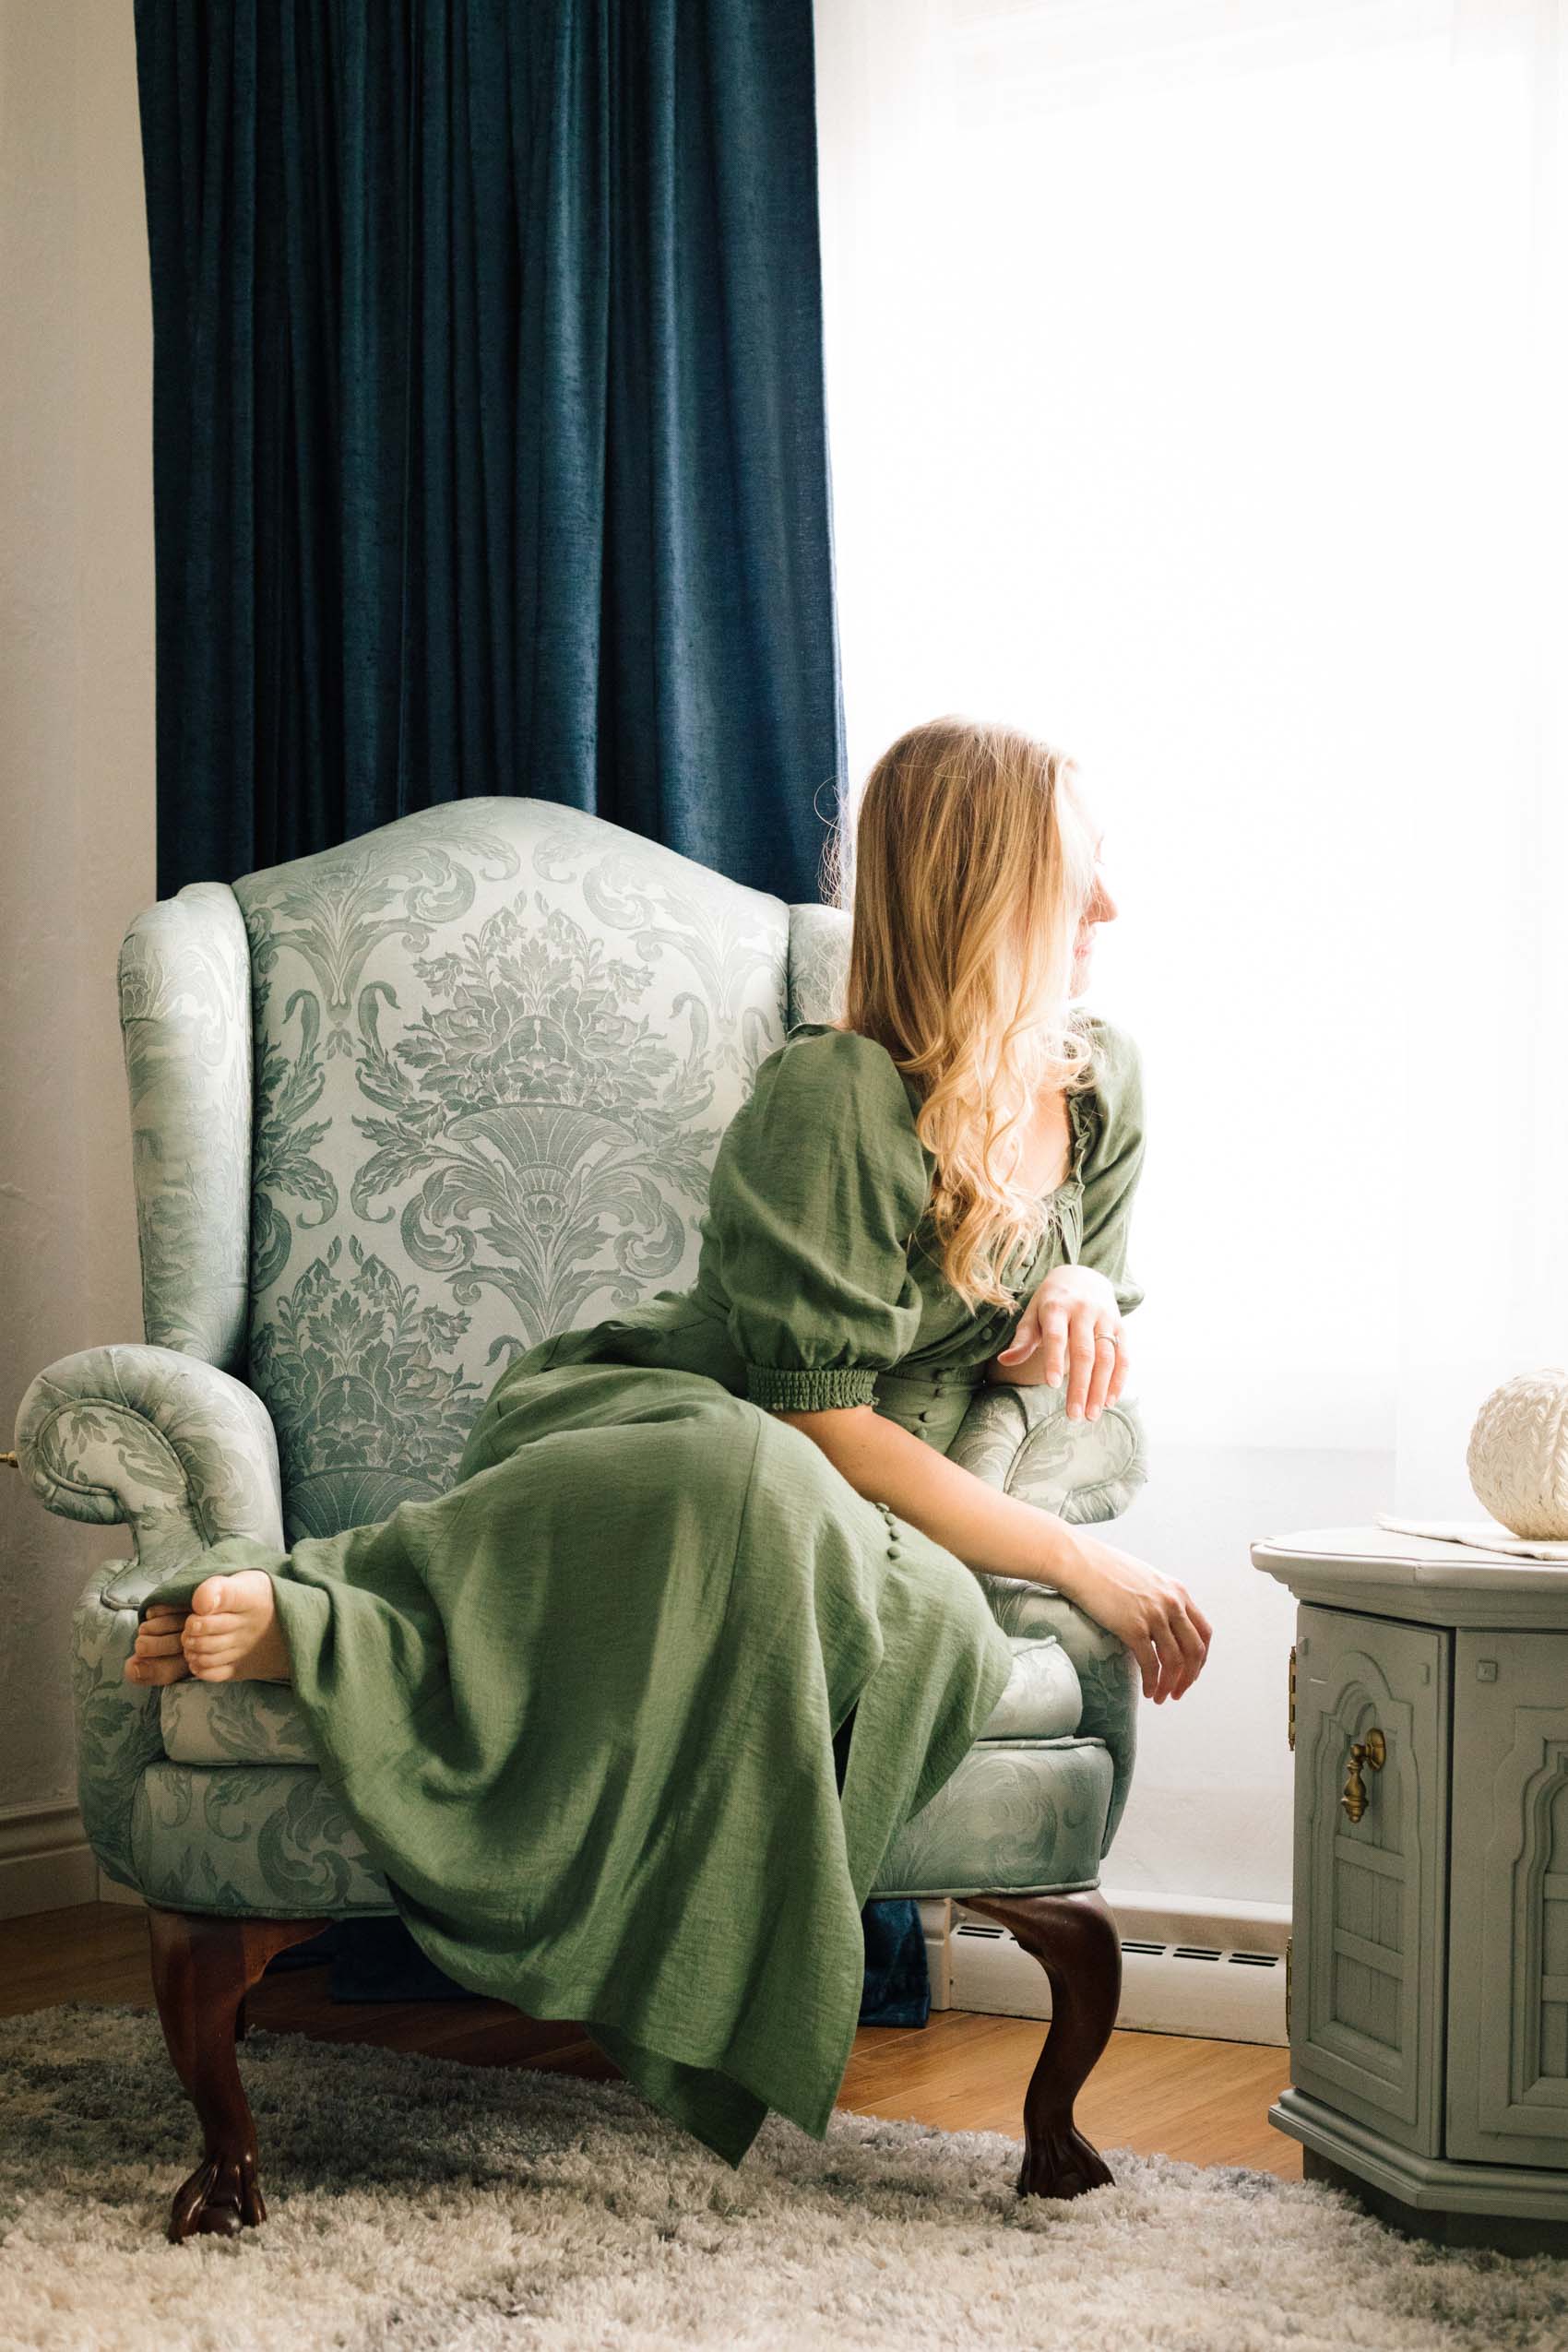
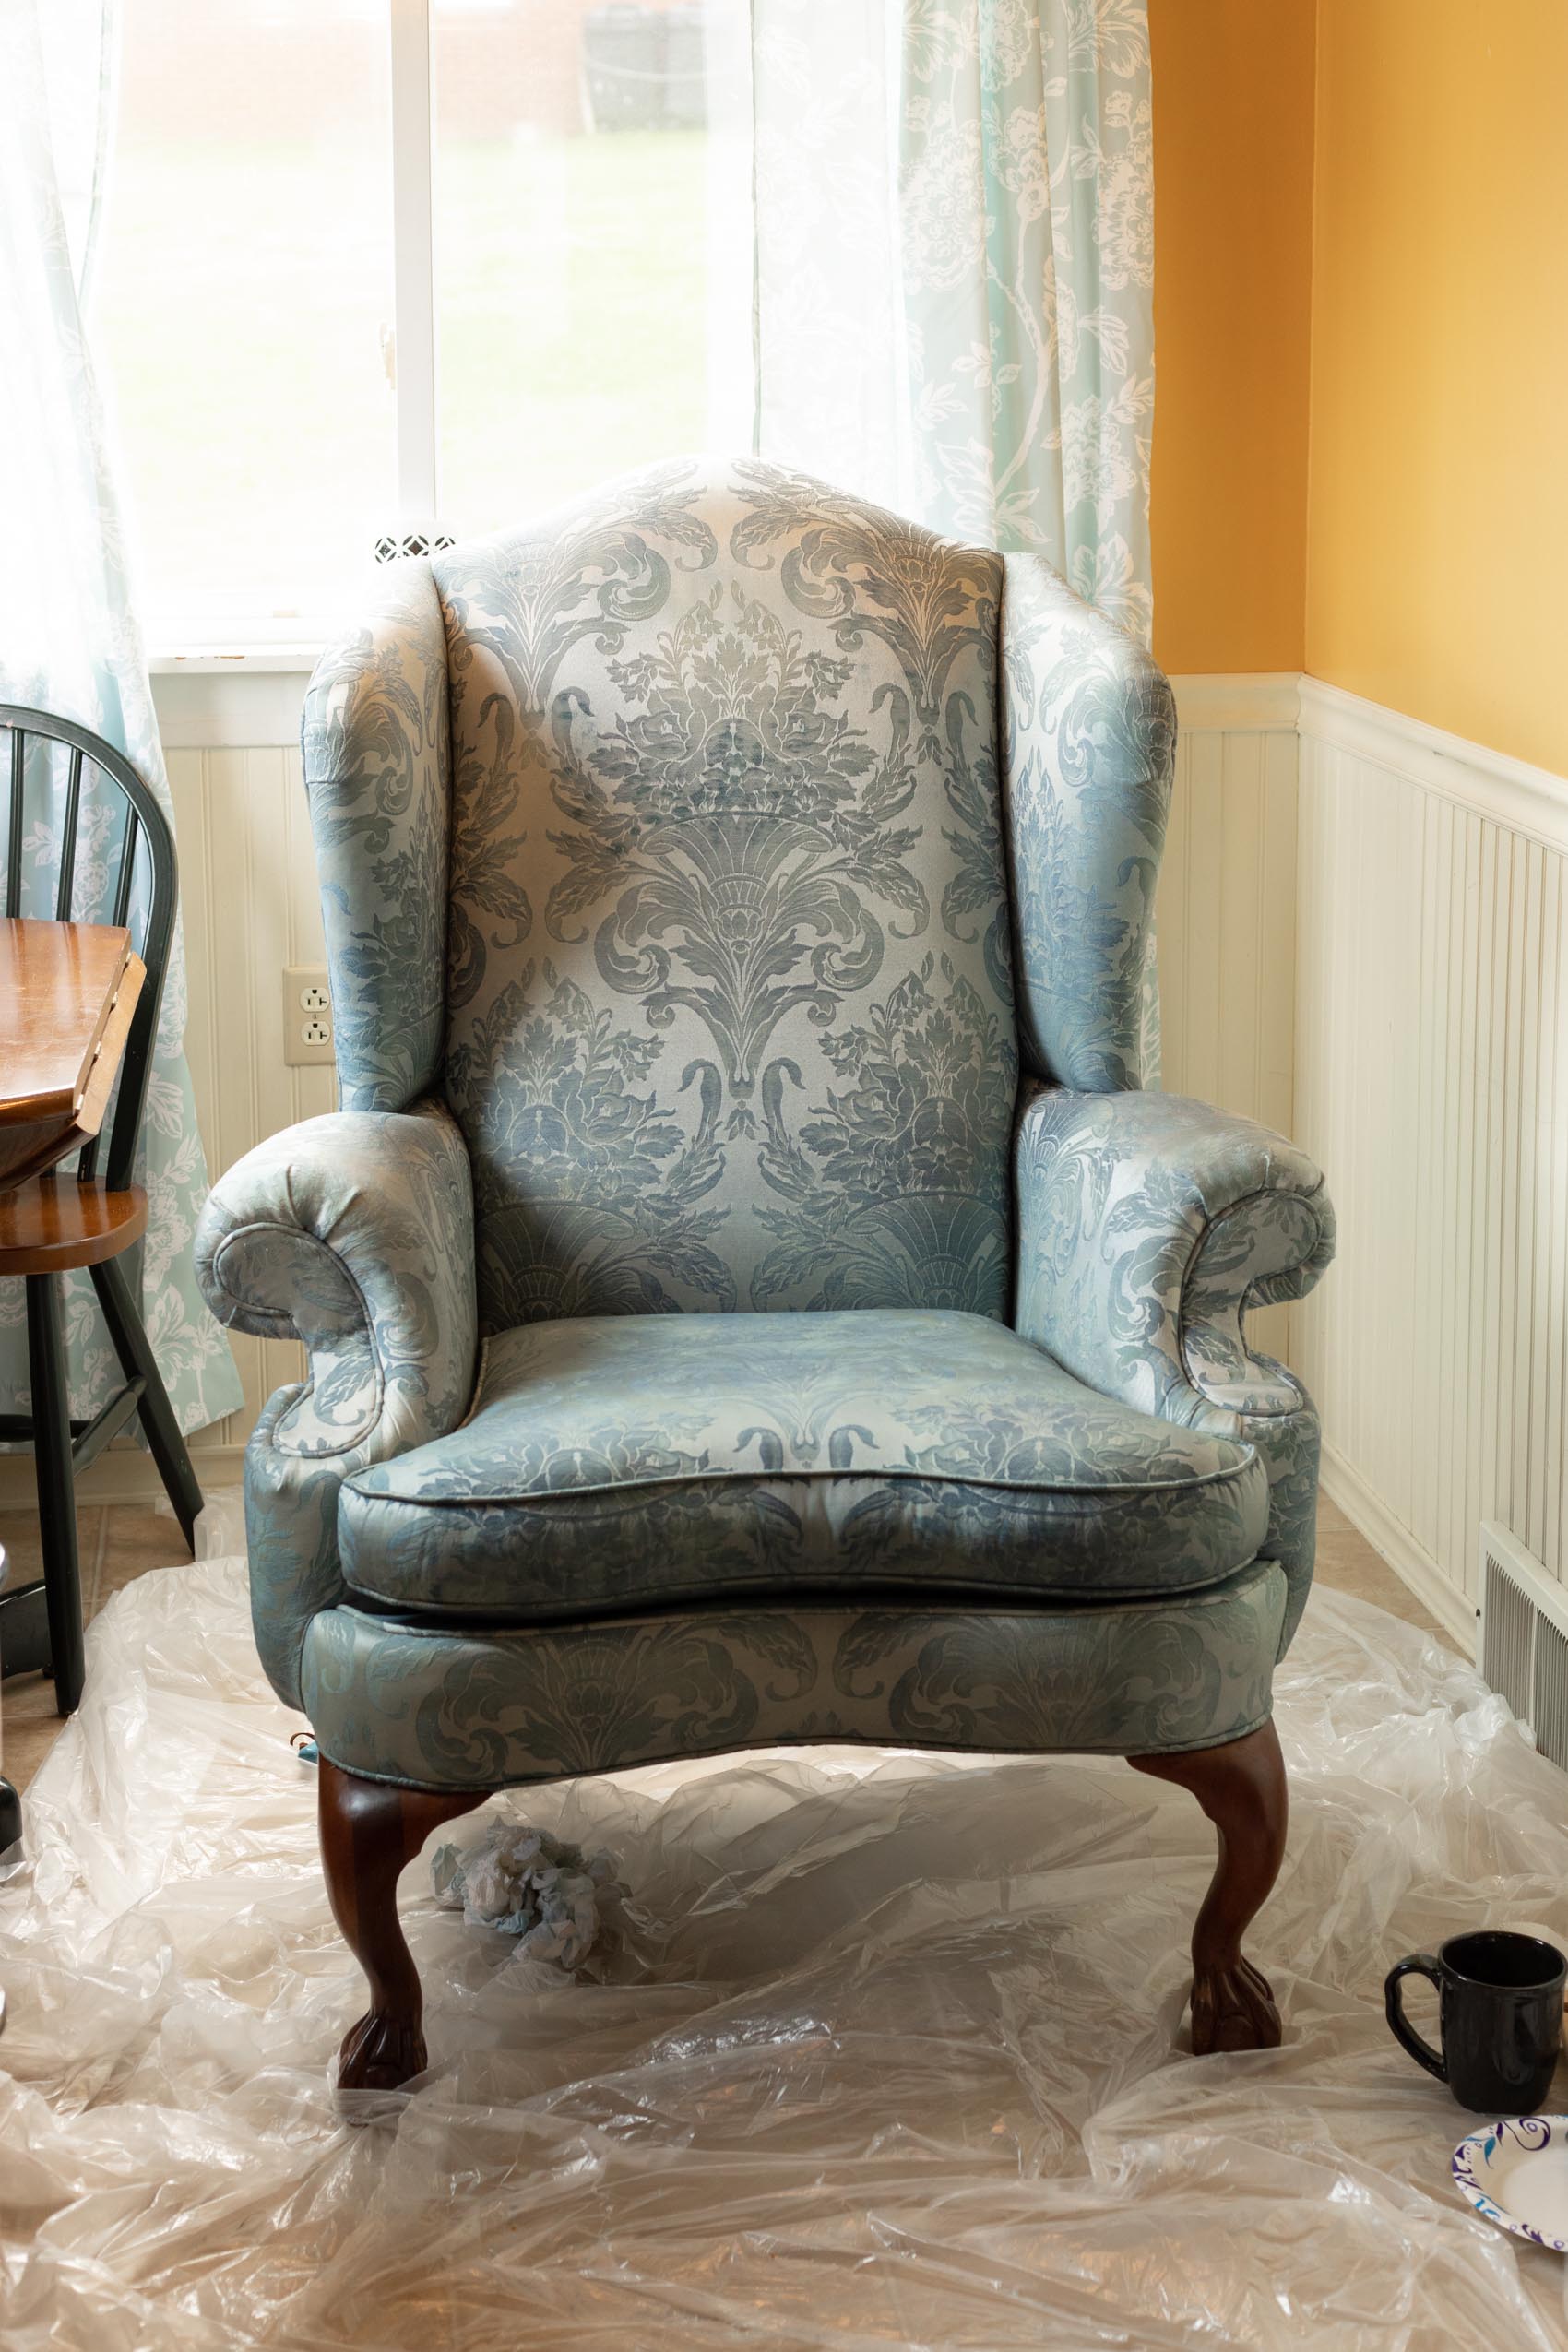
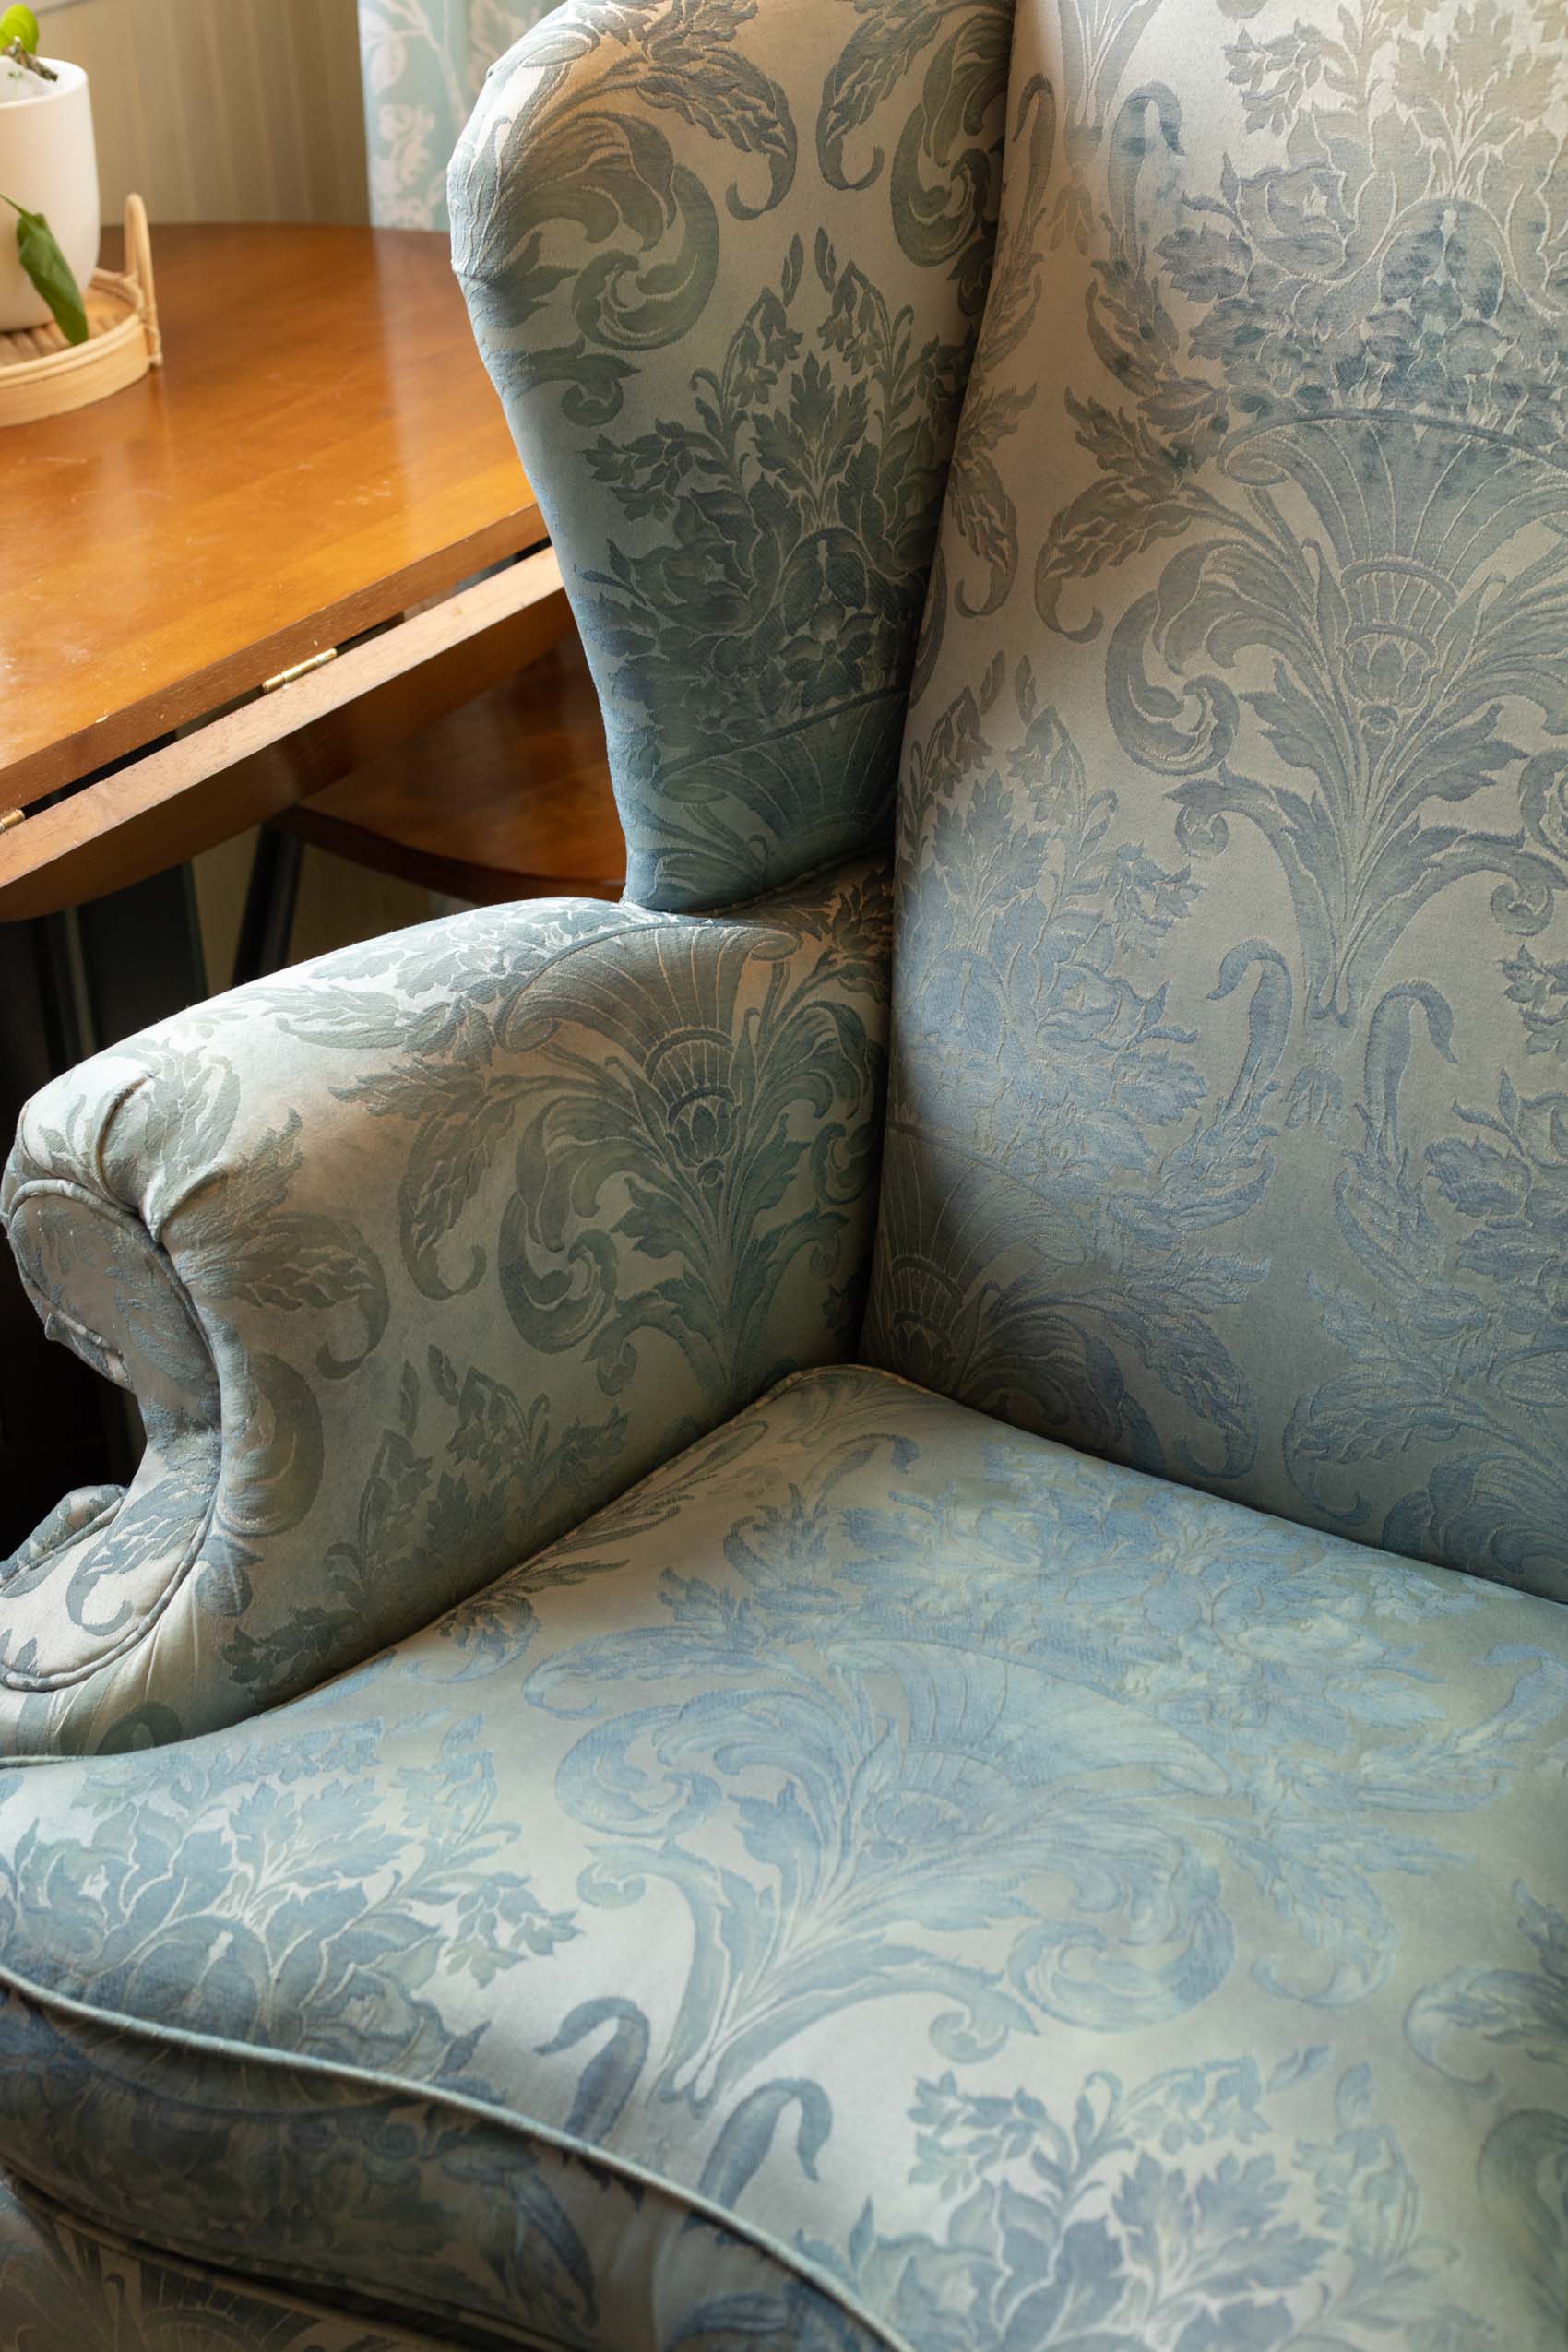
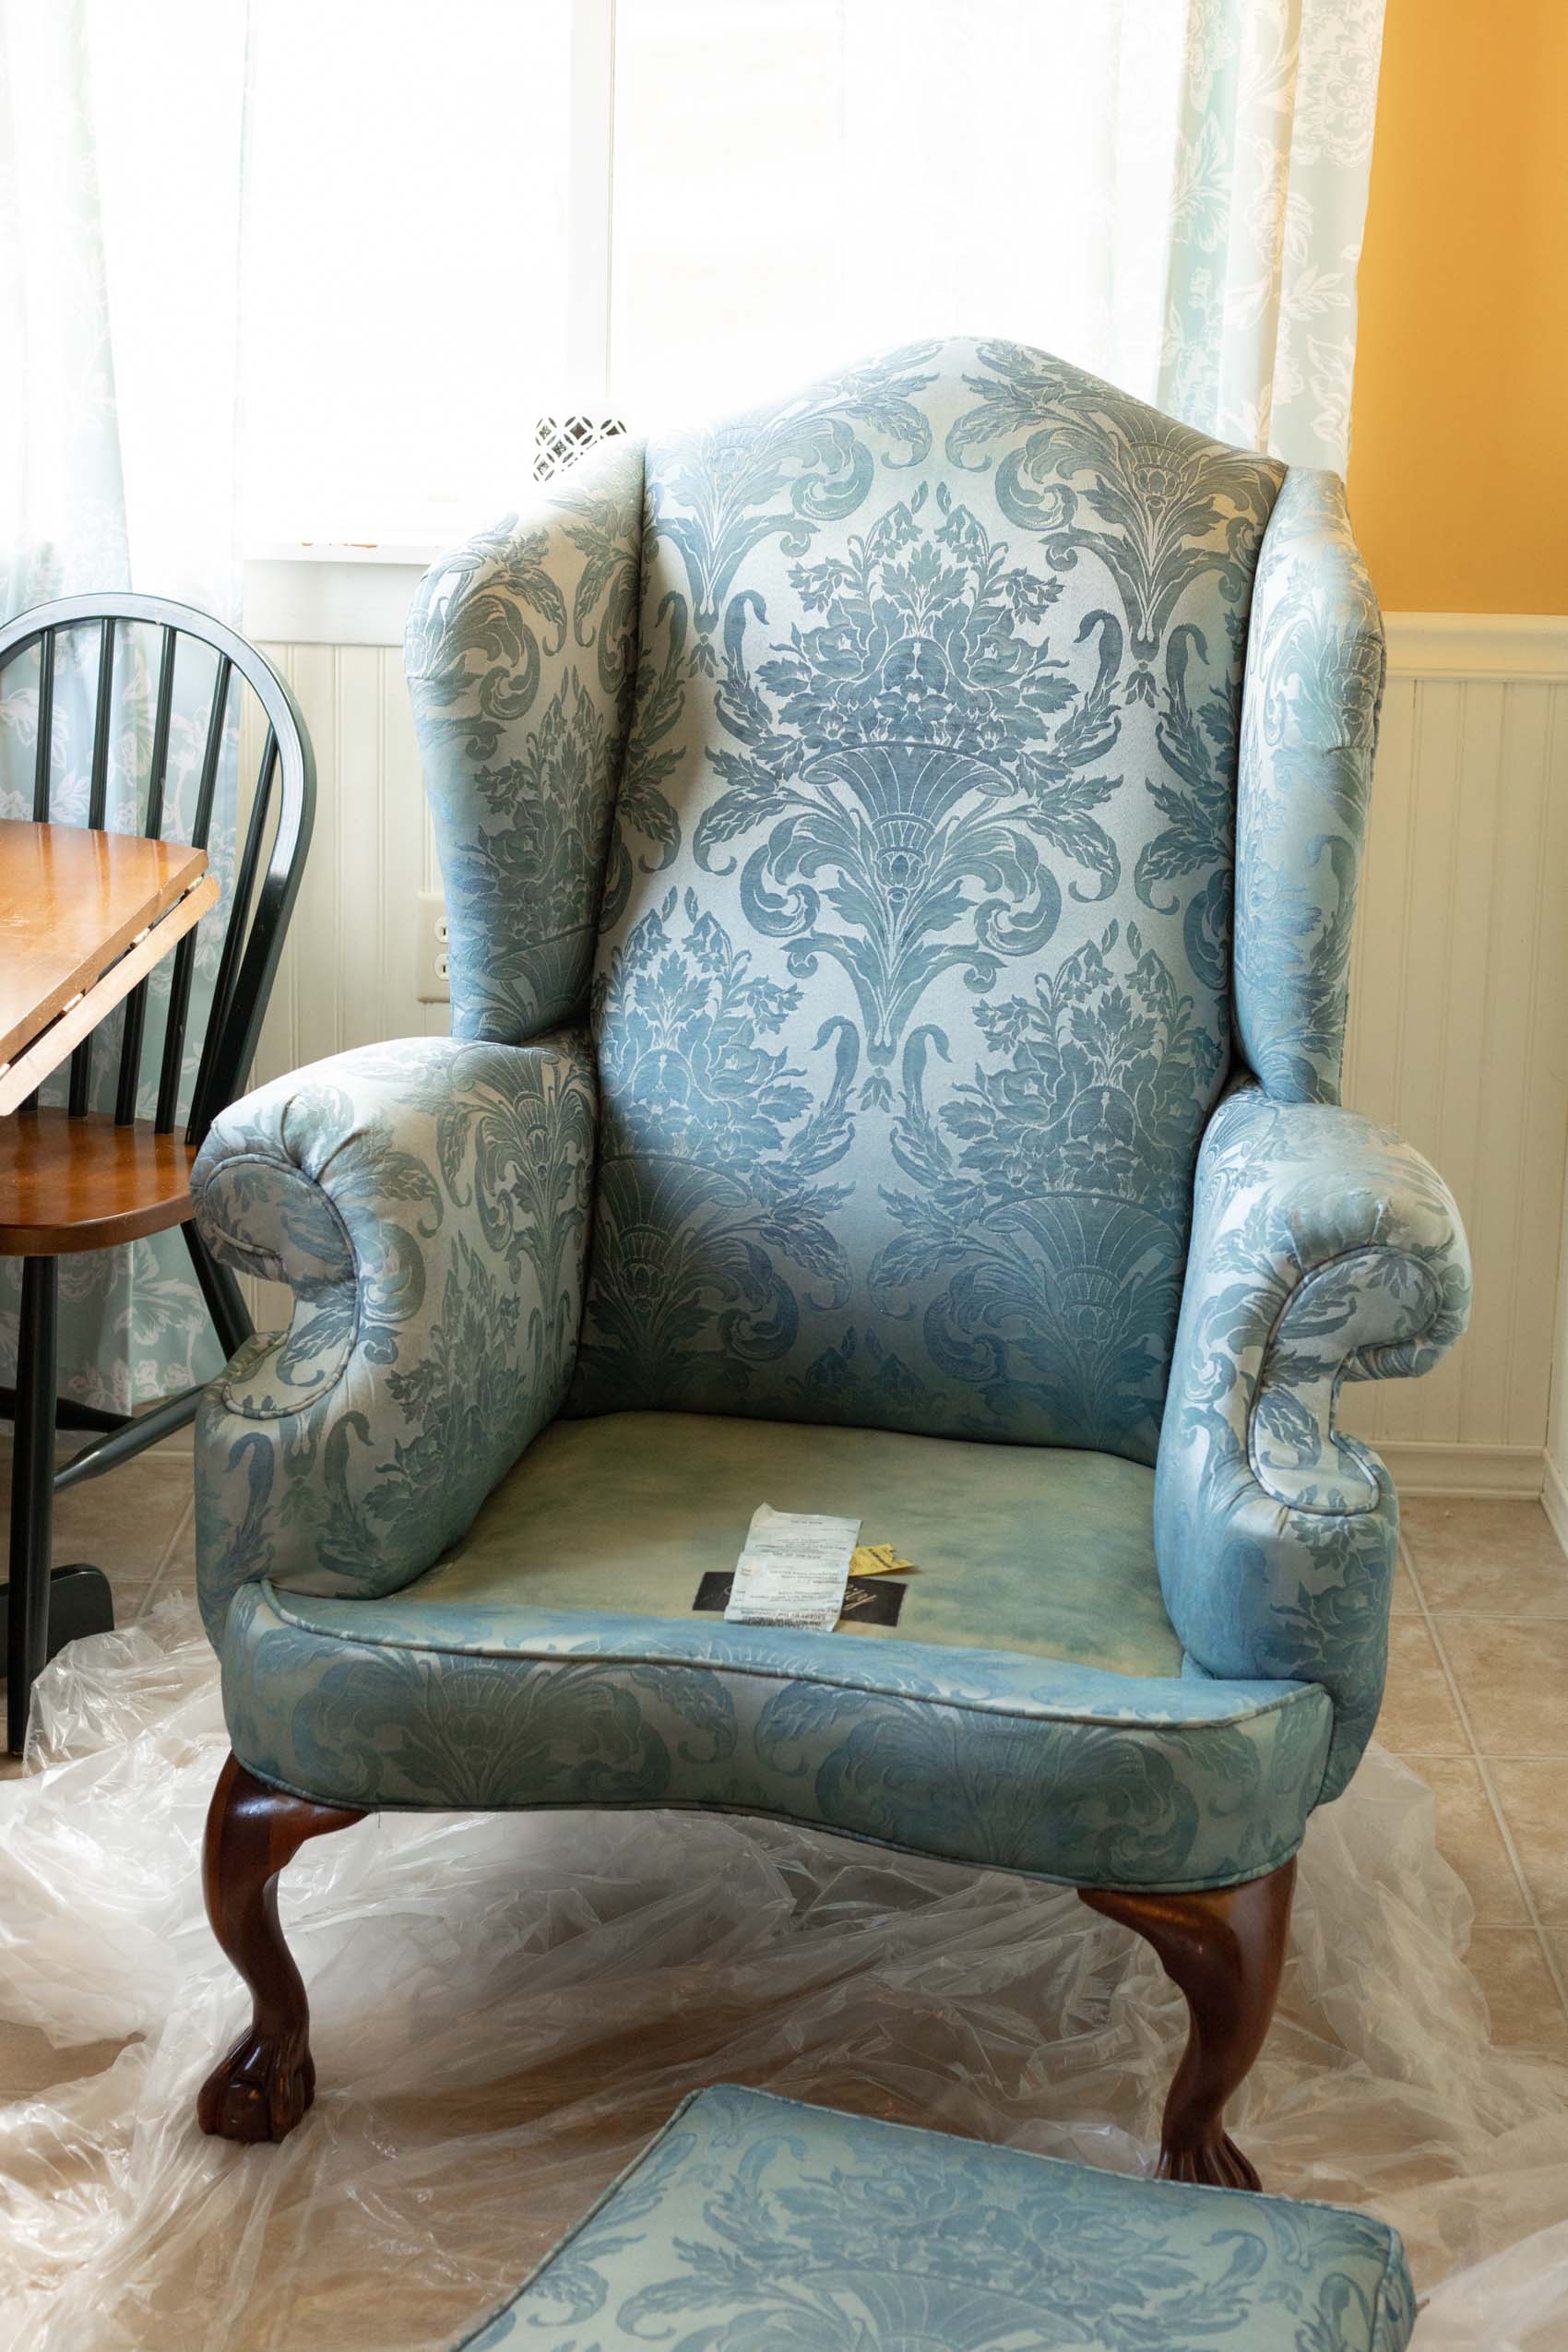
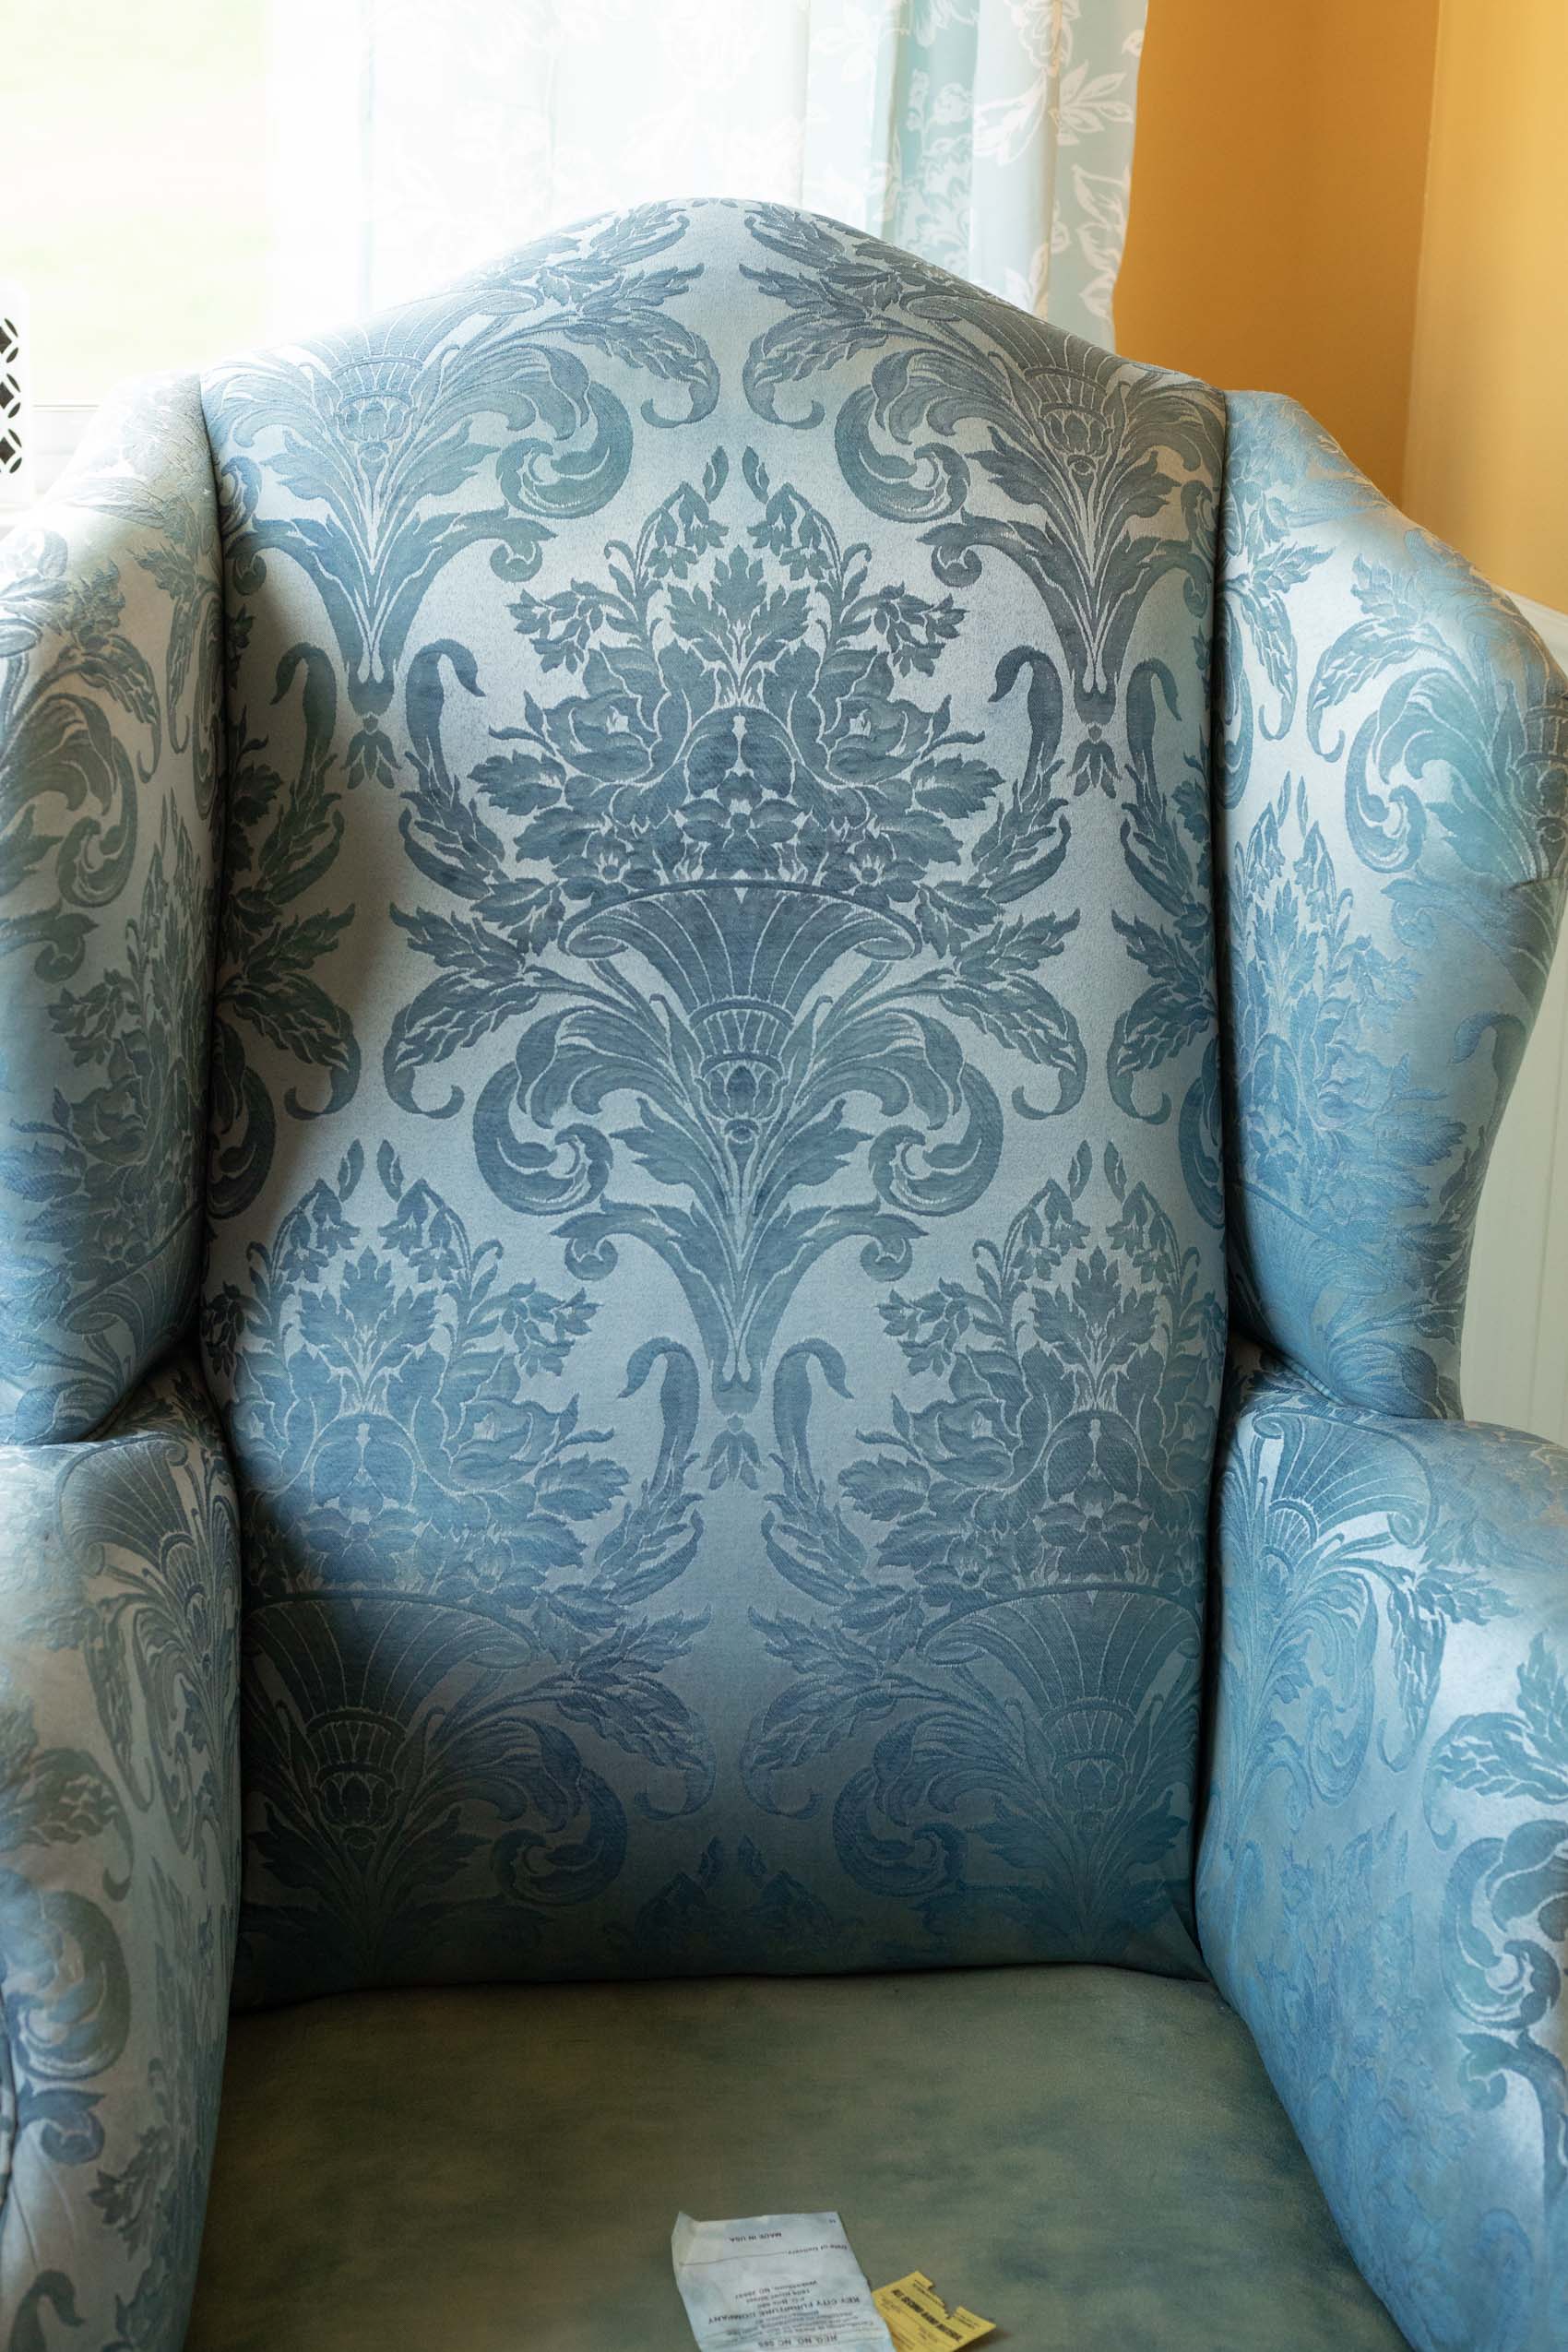
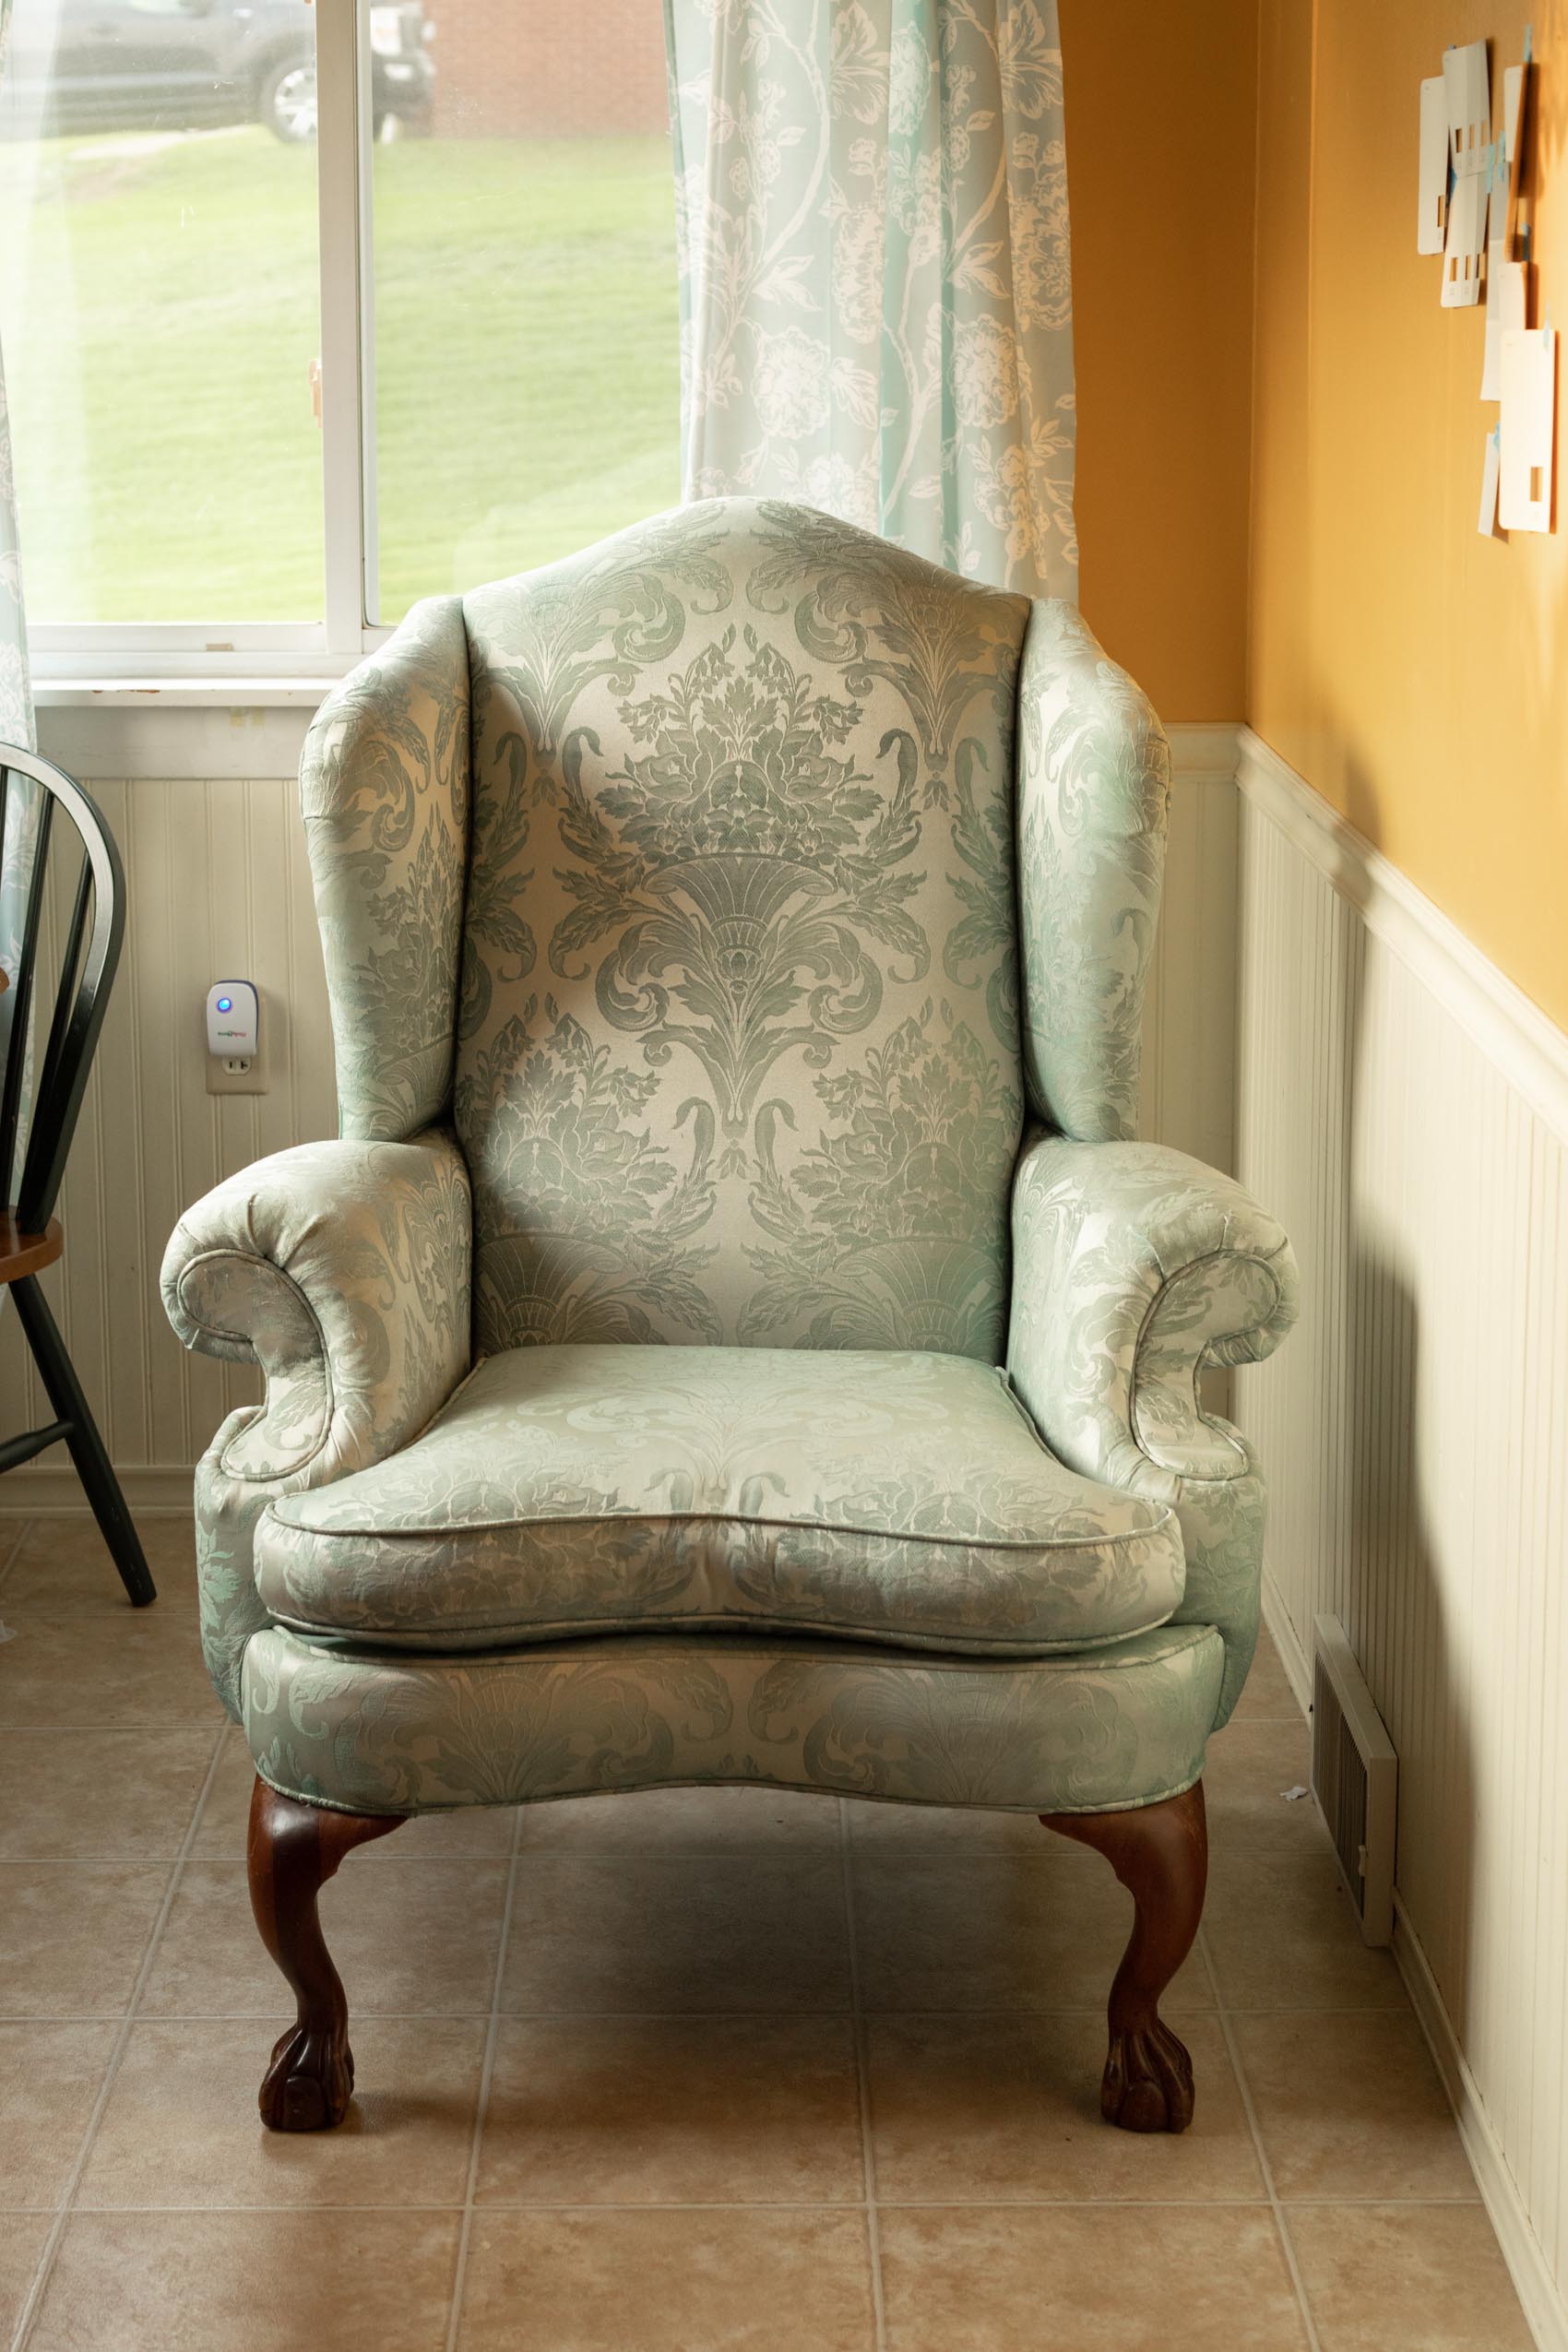
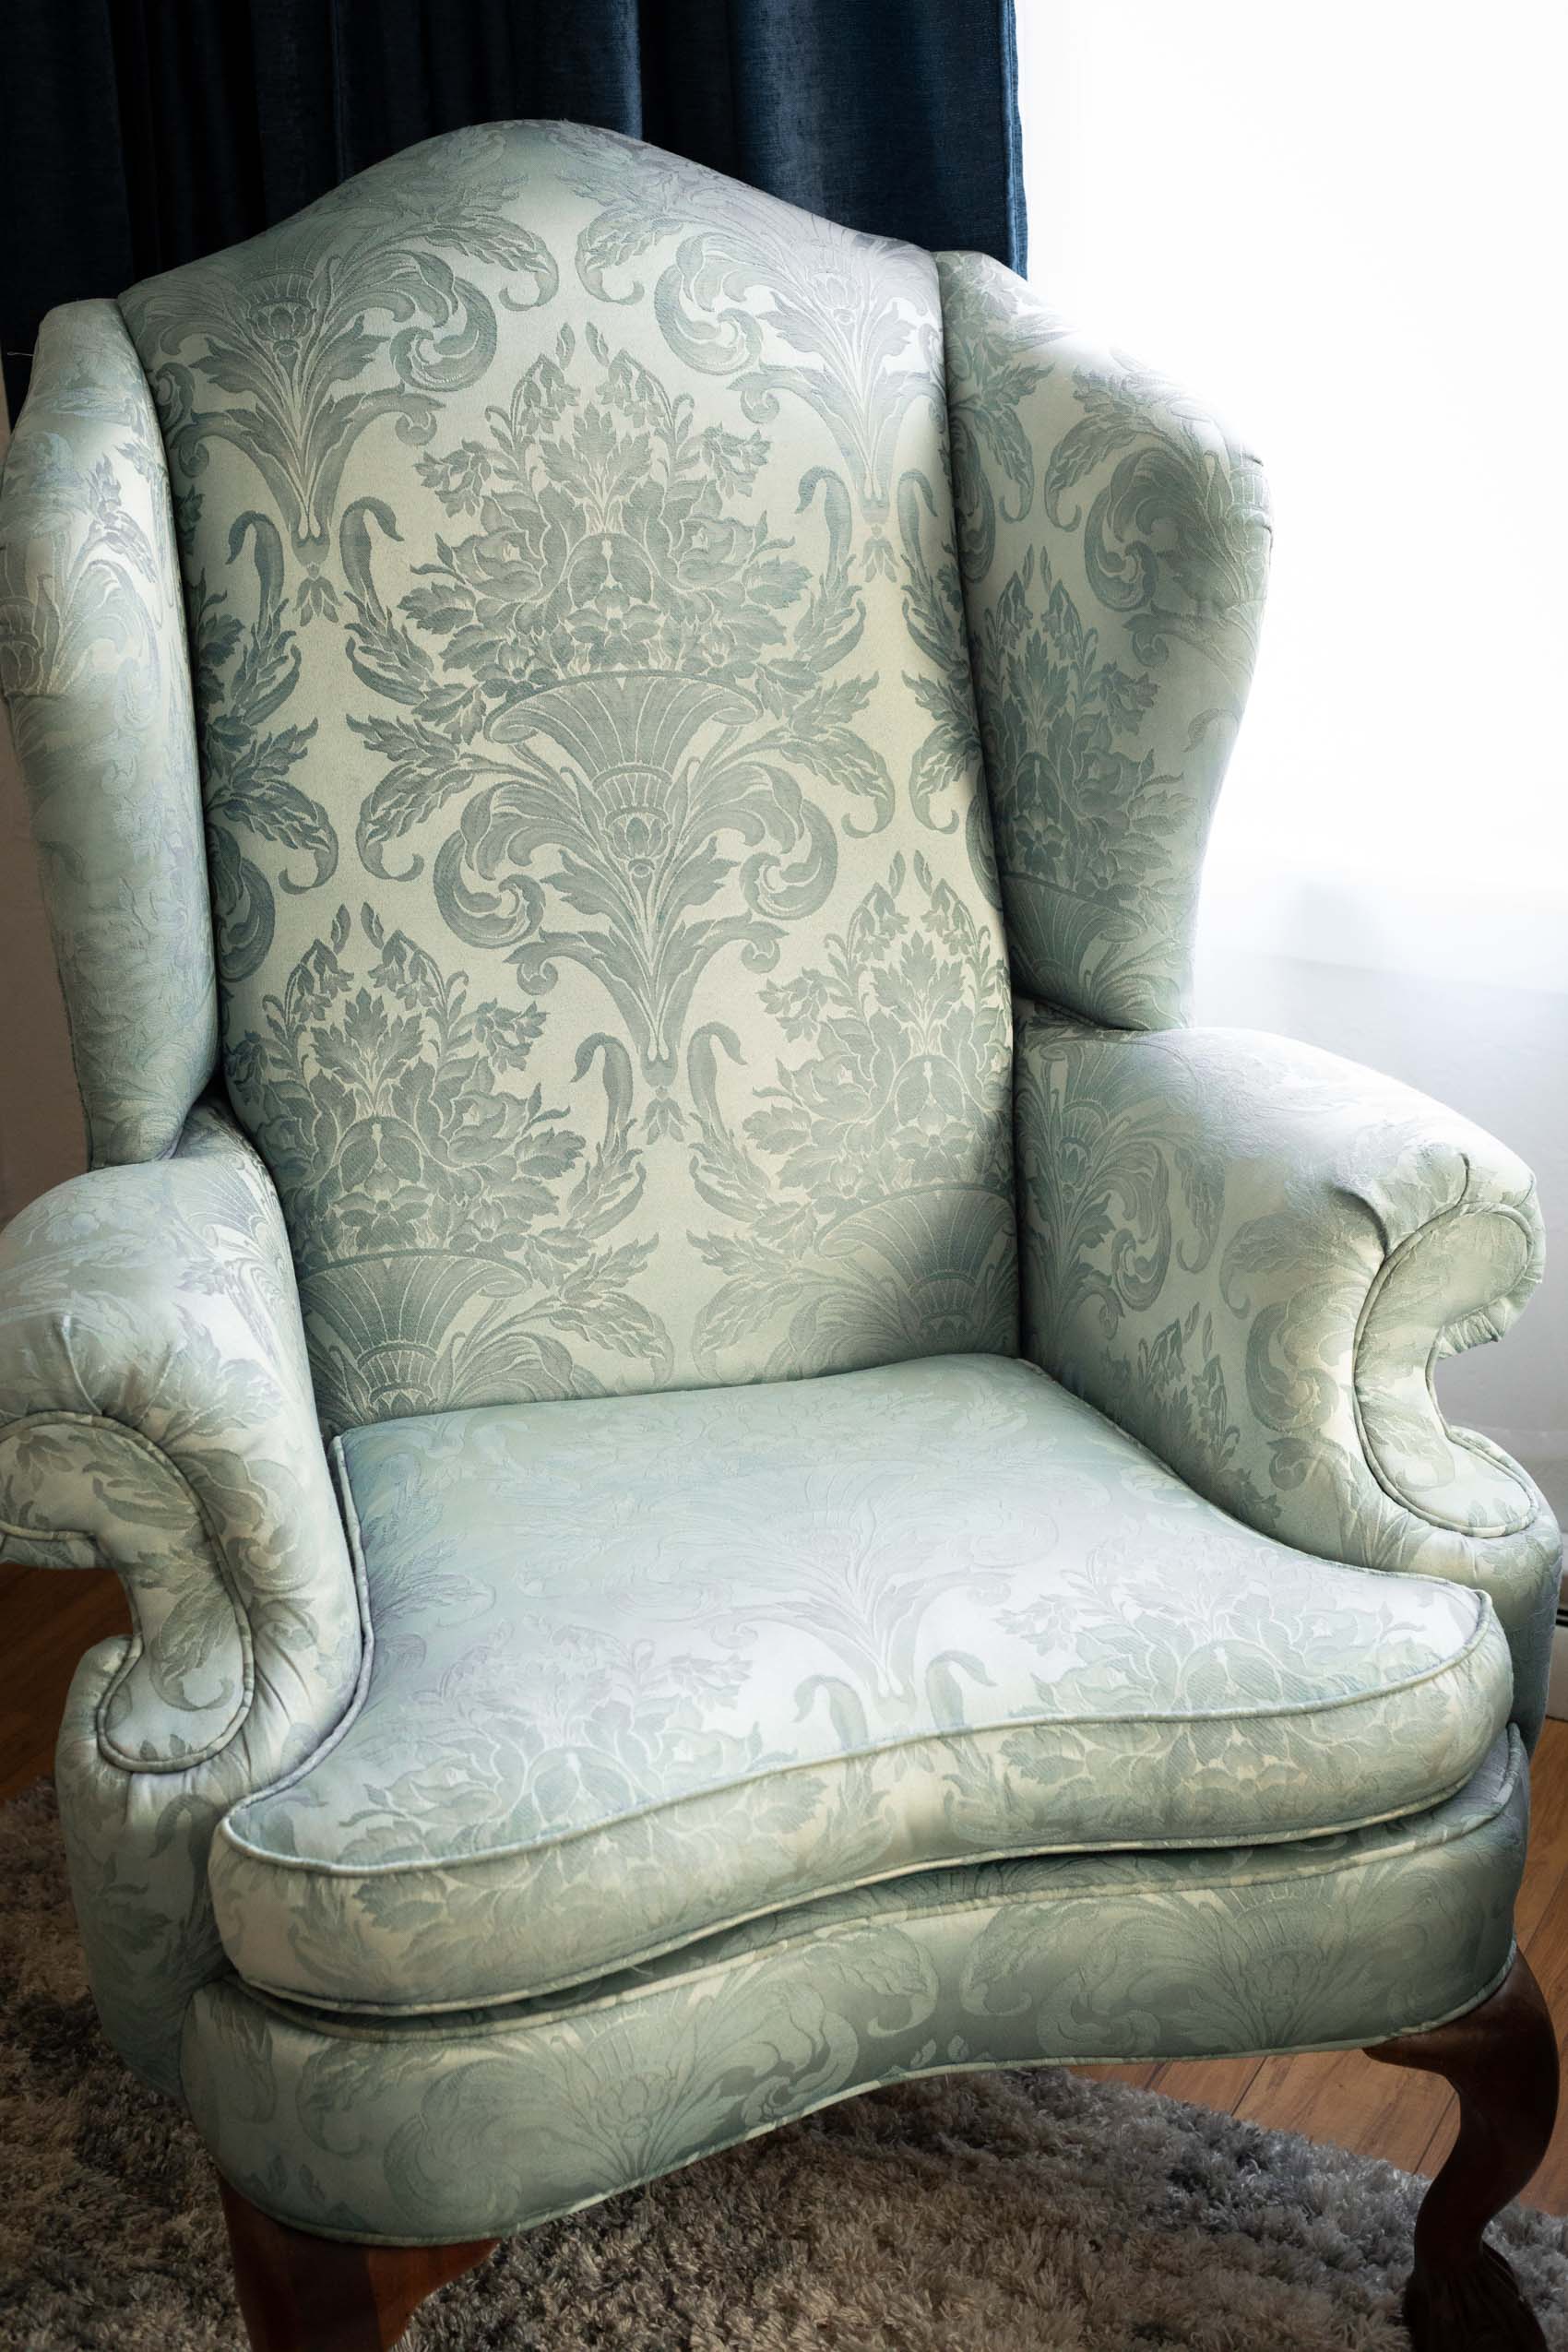
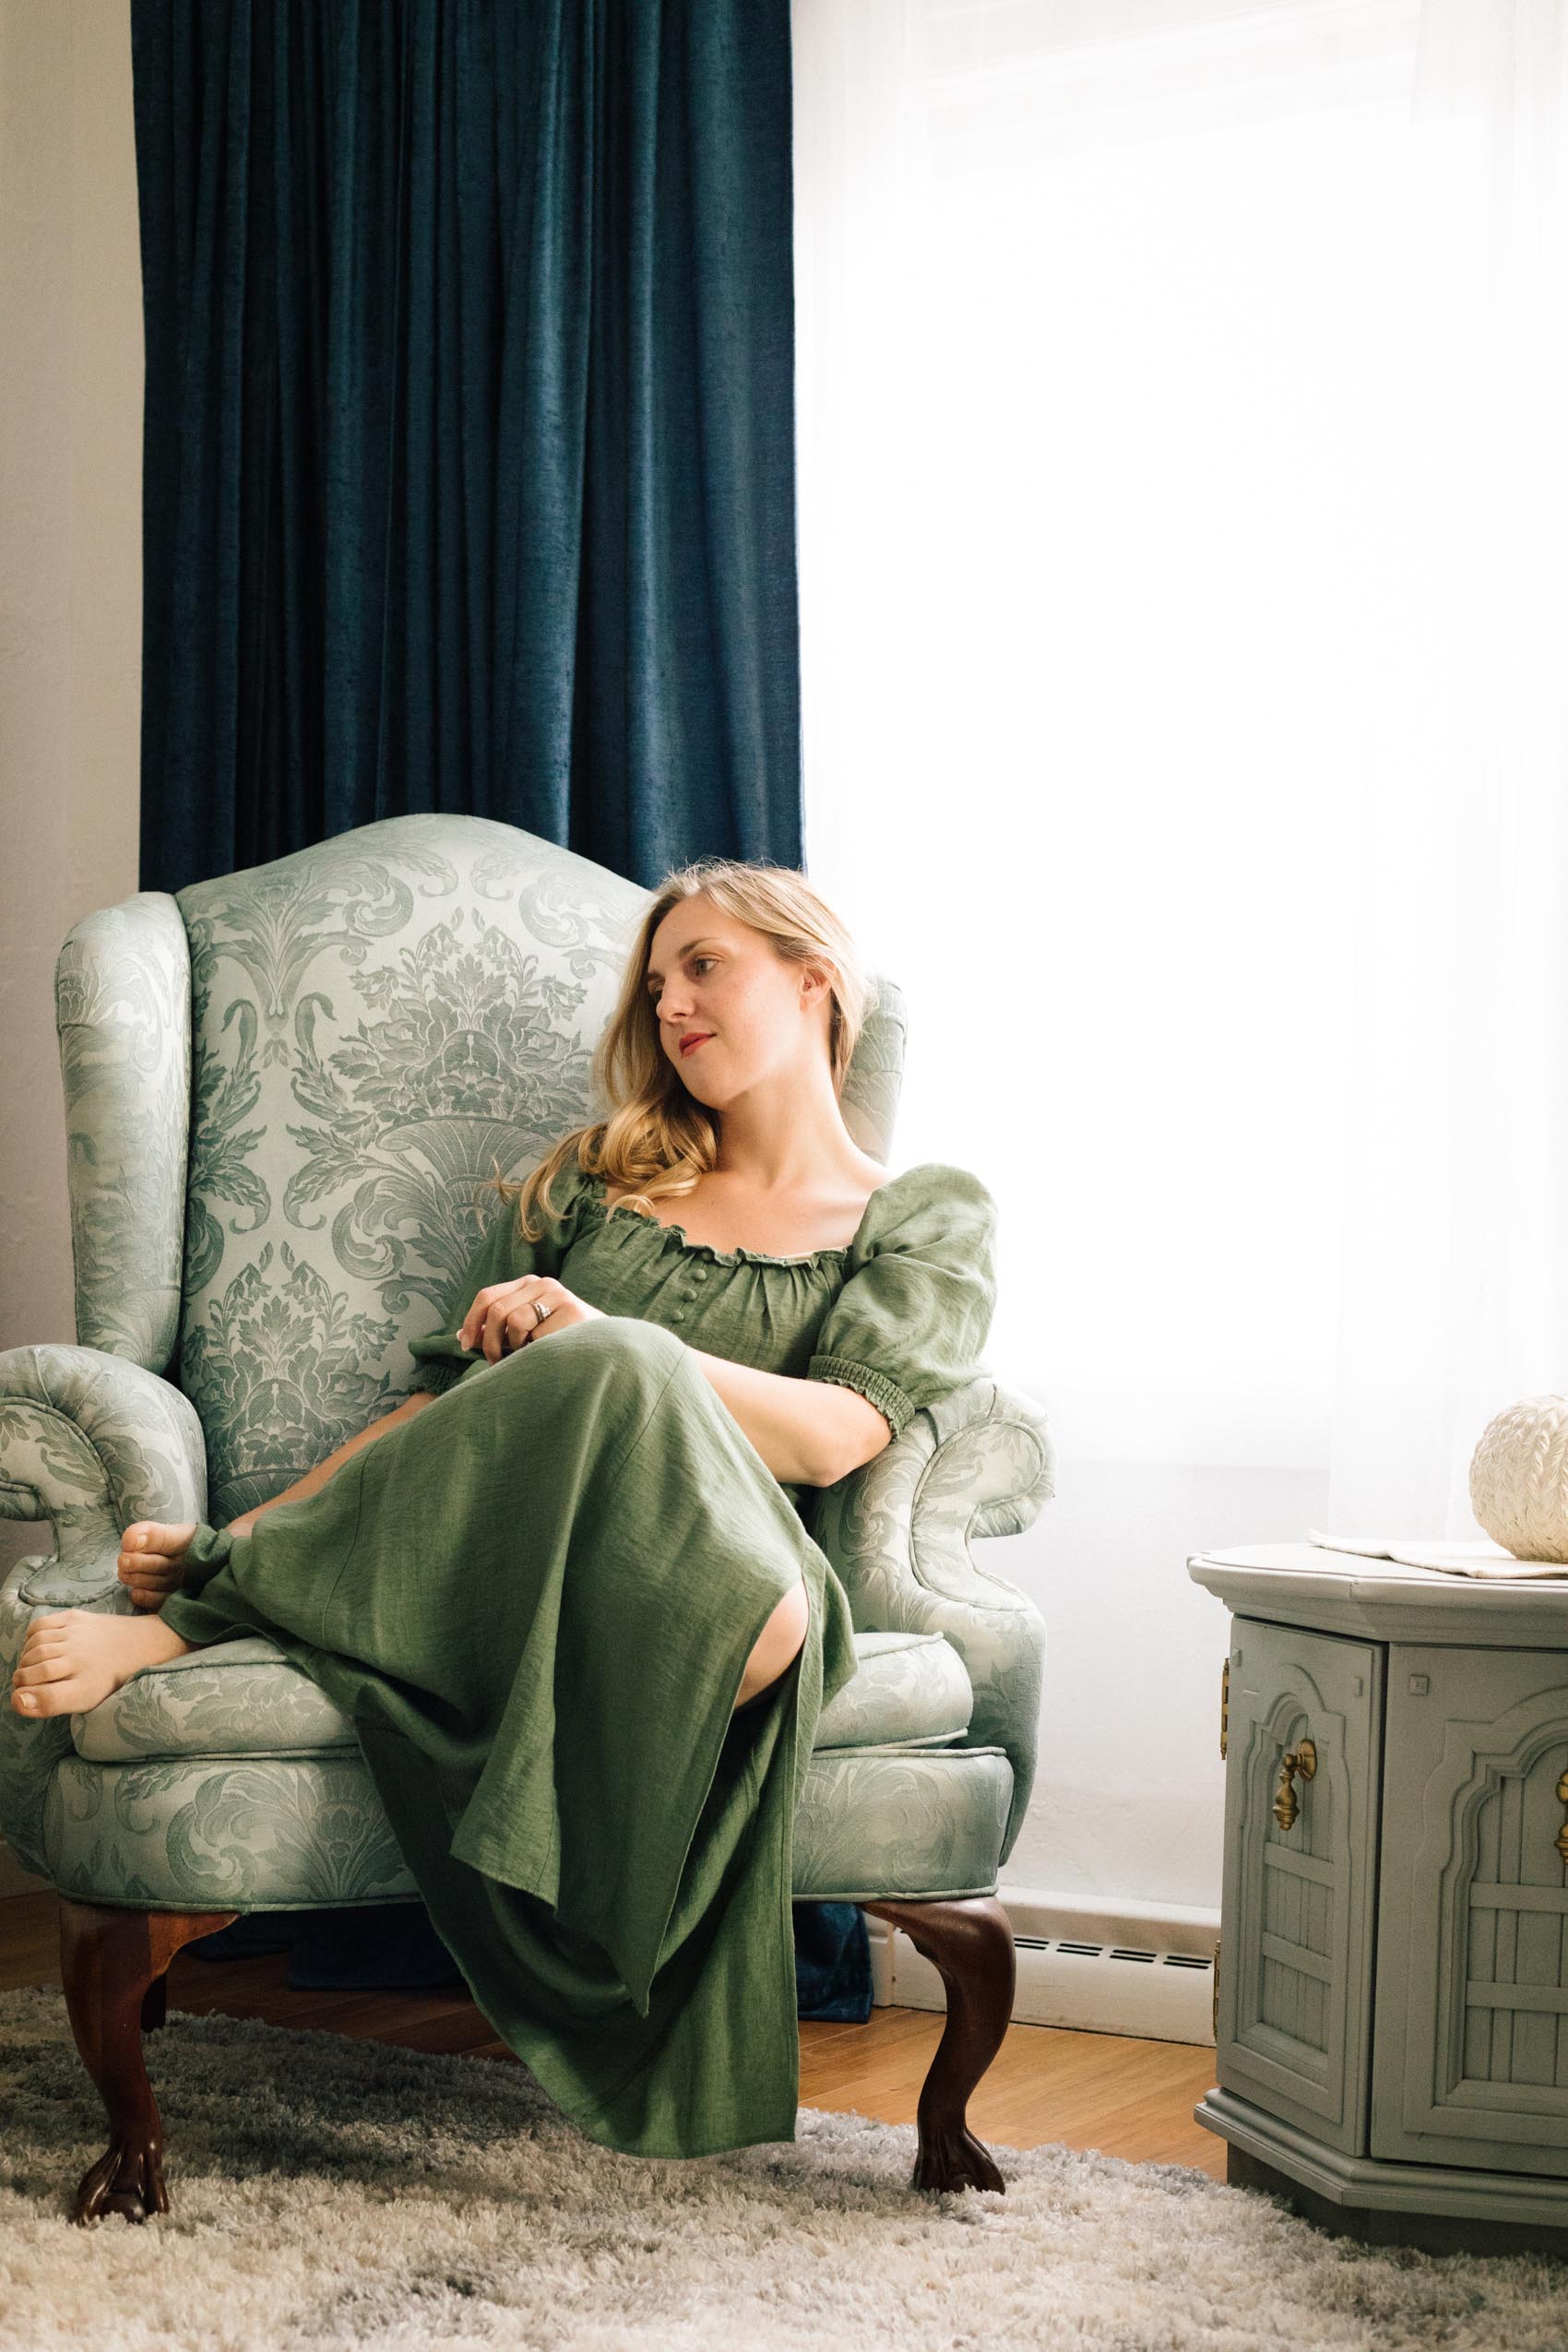
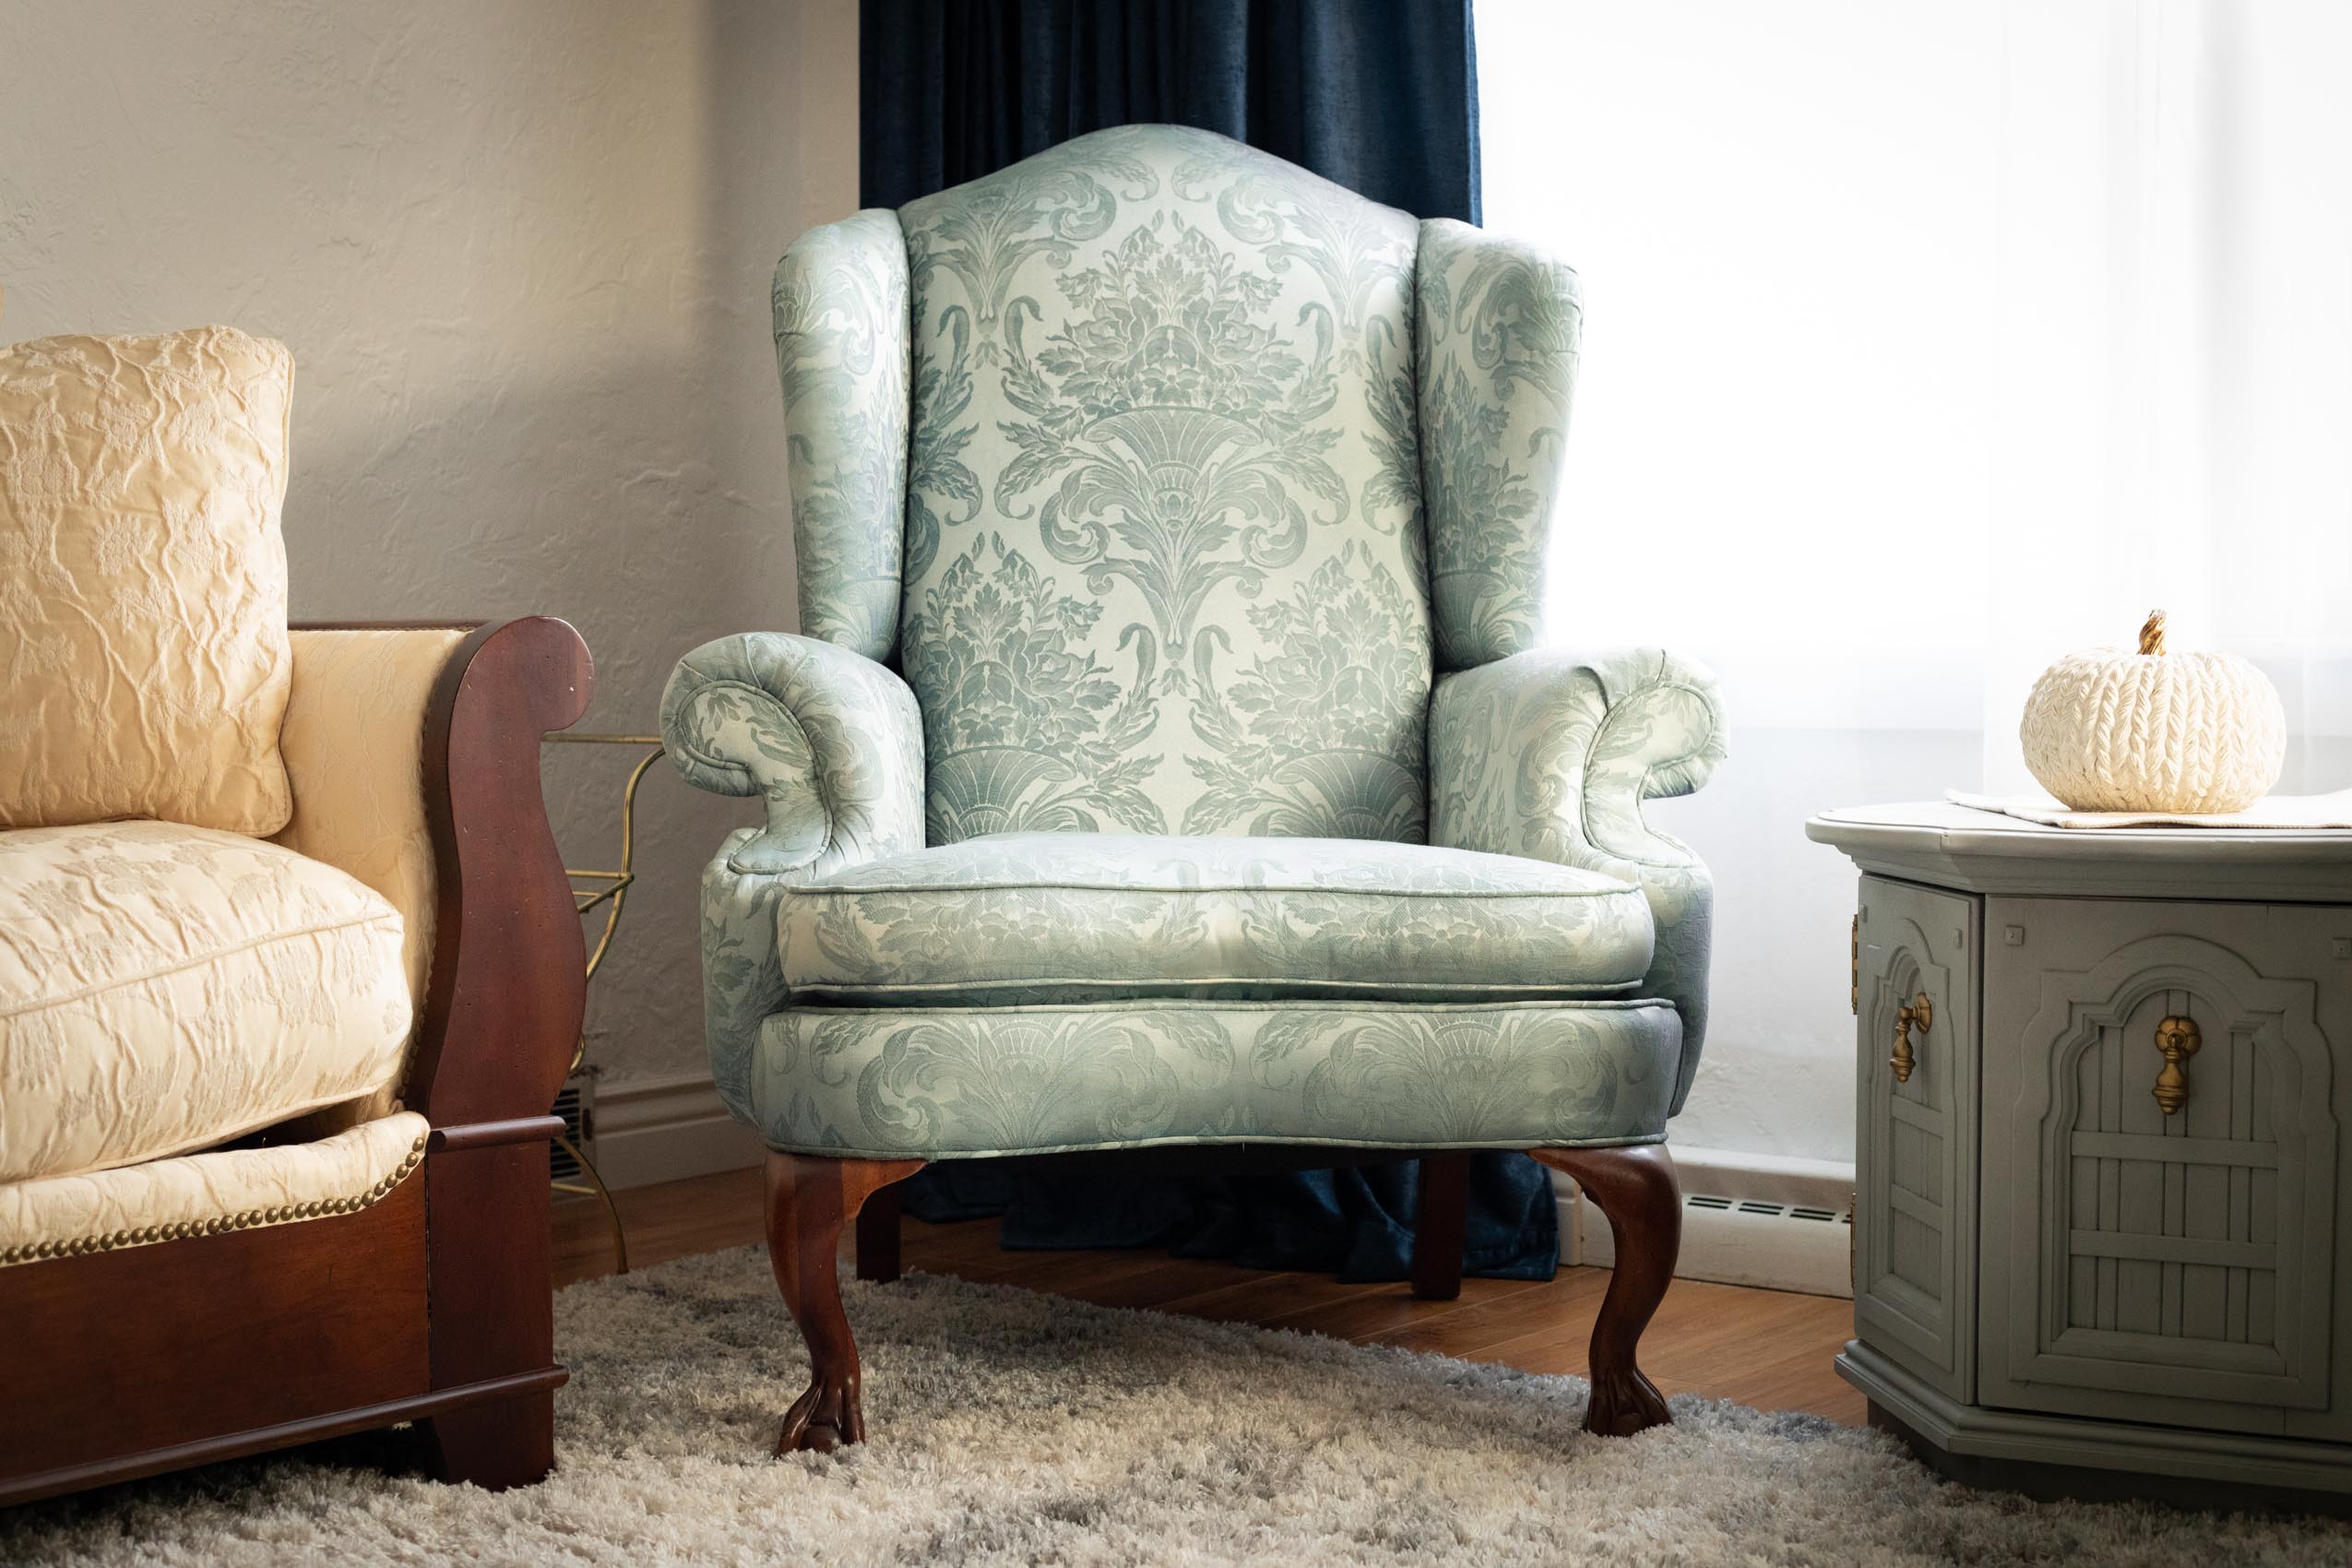
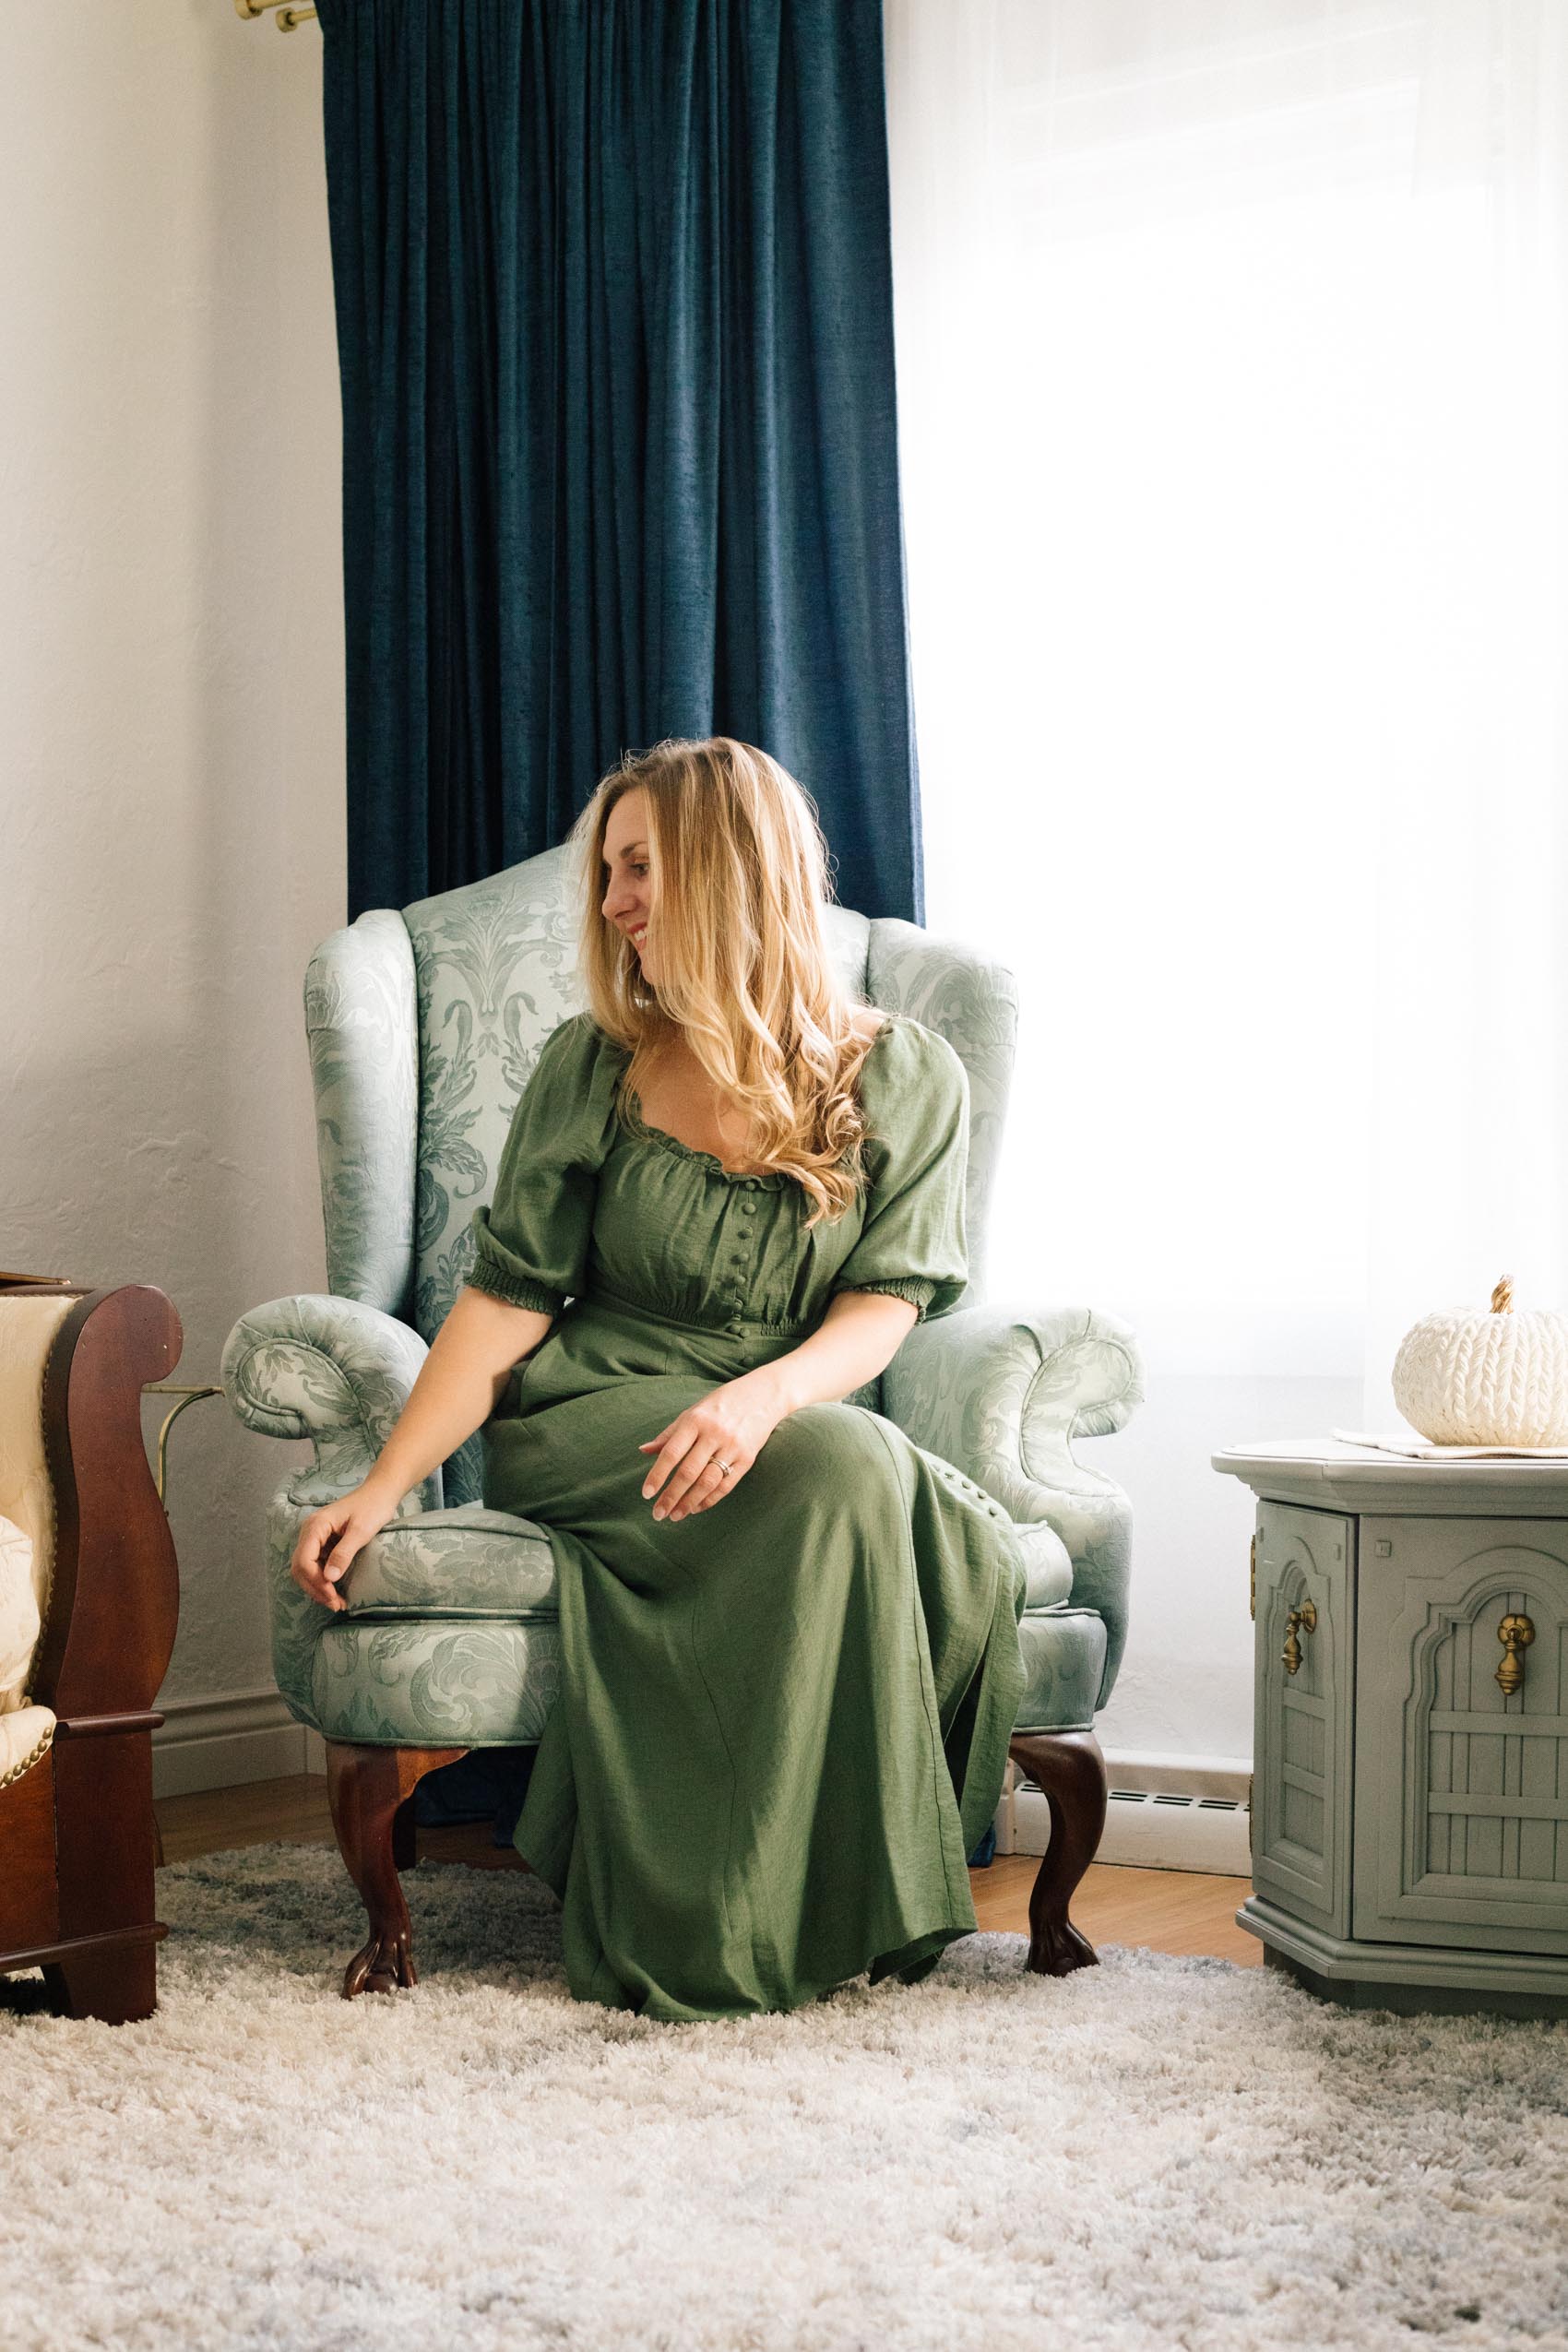
For this Rit Dye before and after, I’m showing off how to dye a fabric chair. In just a few steps, I took this upholstered chair from dingy off-white to a gorgeous sky blue color.
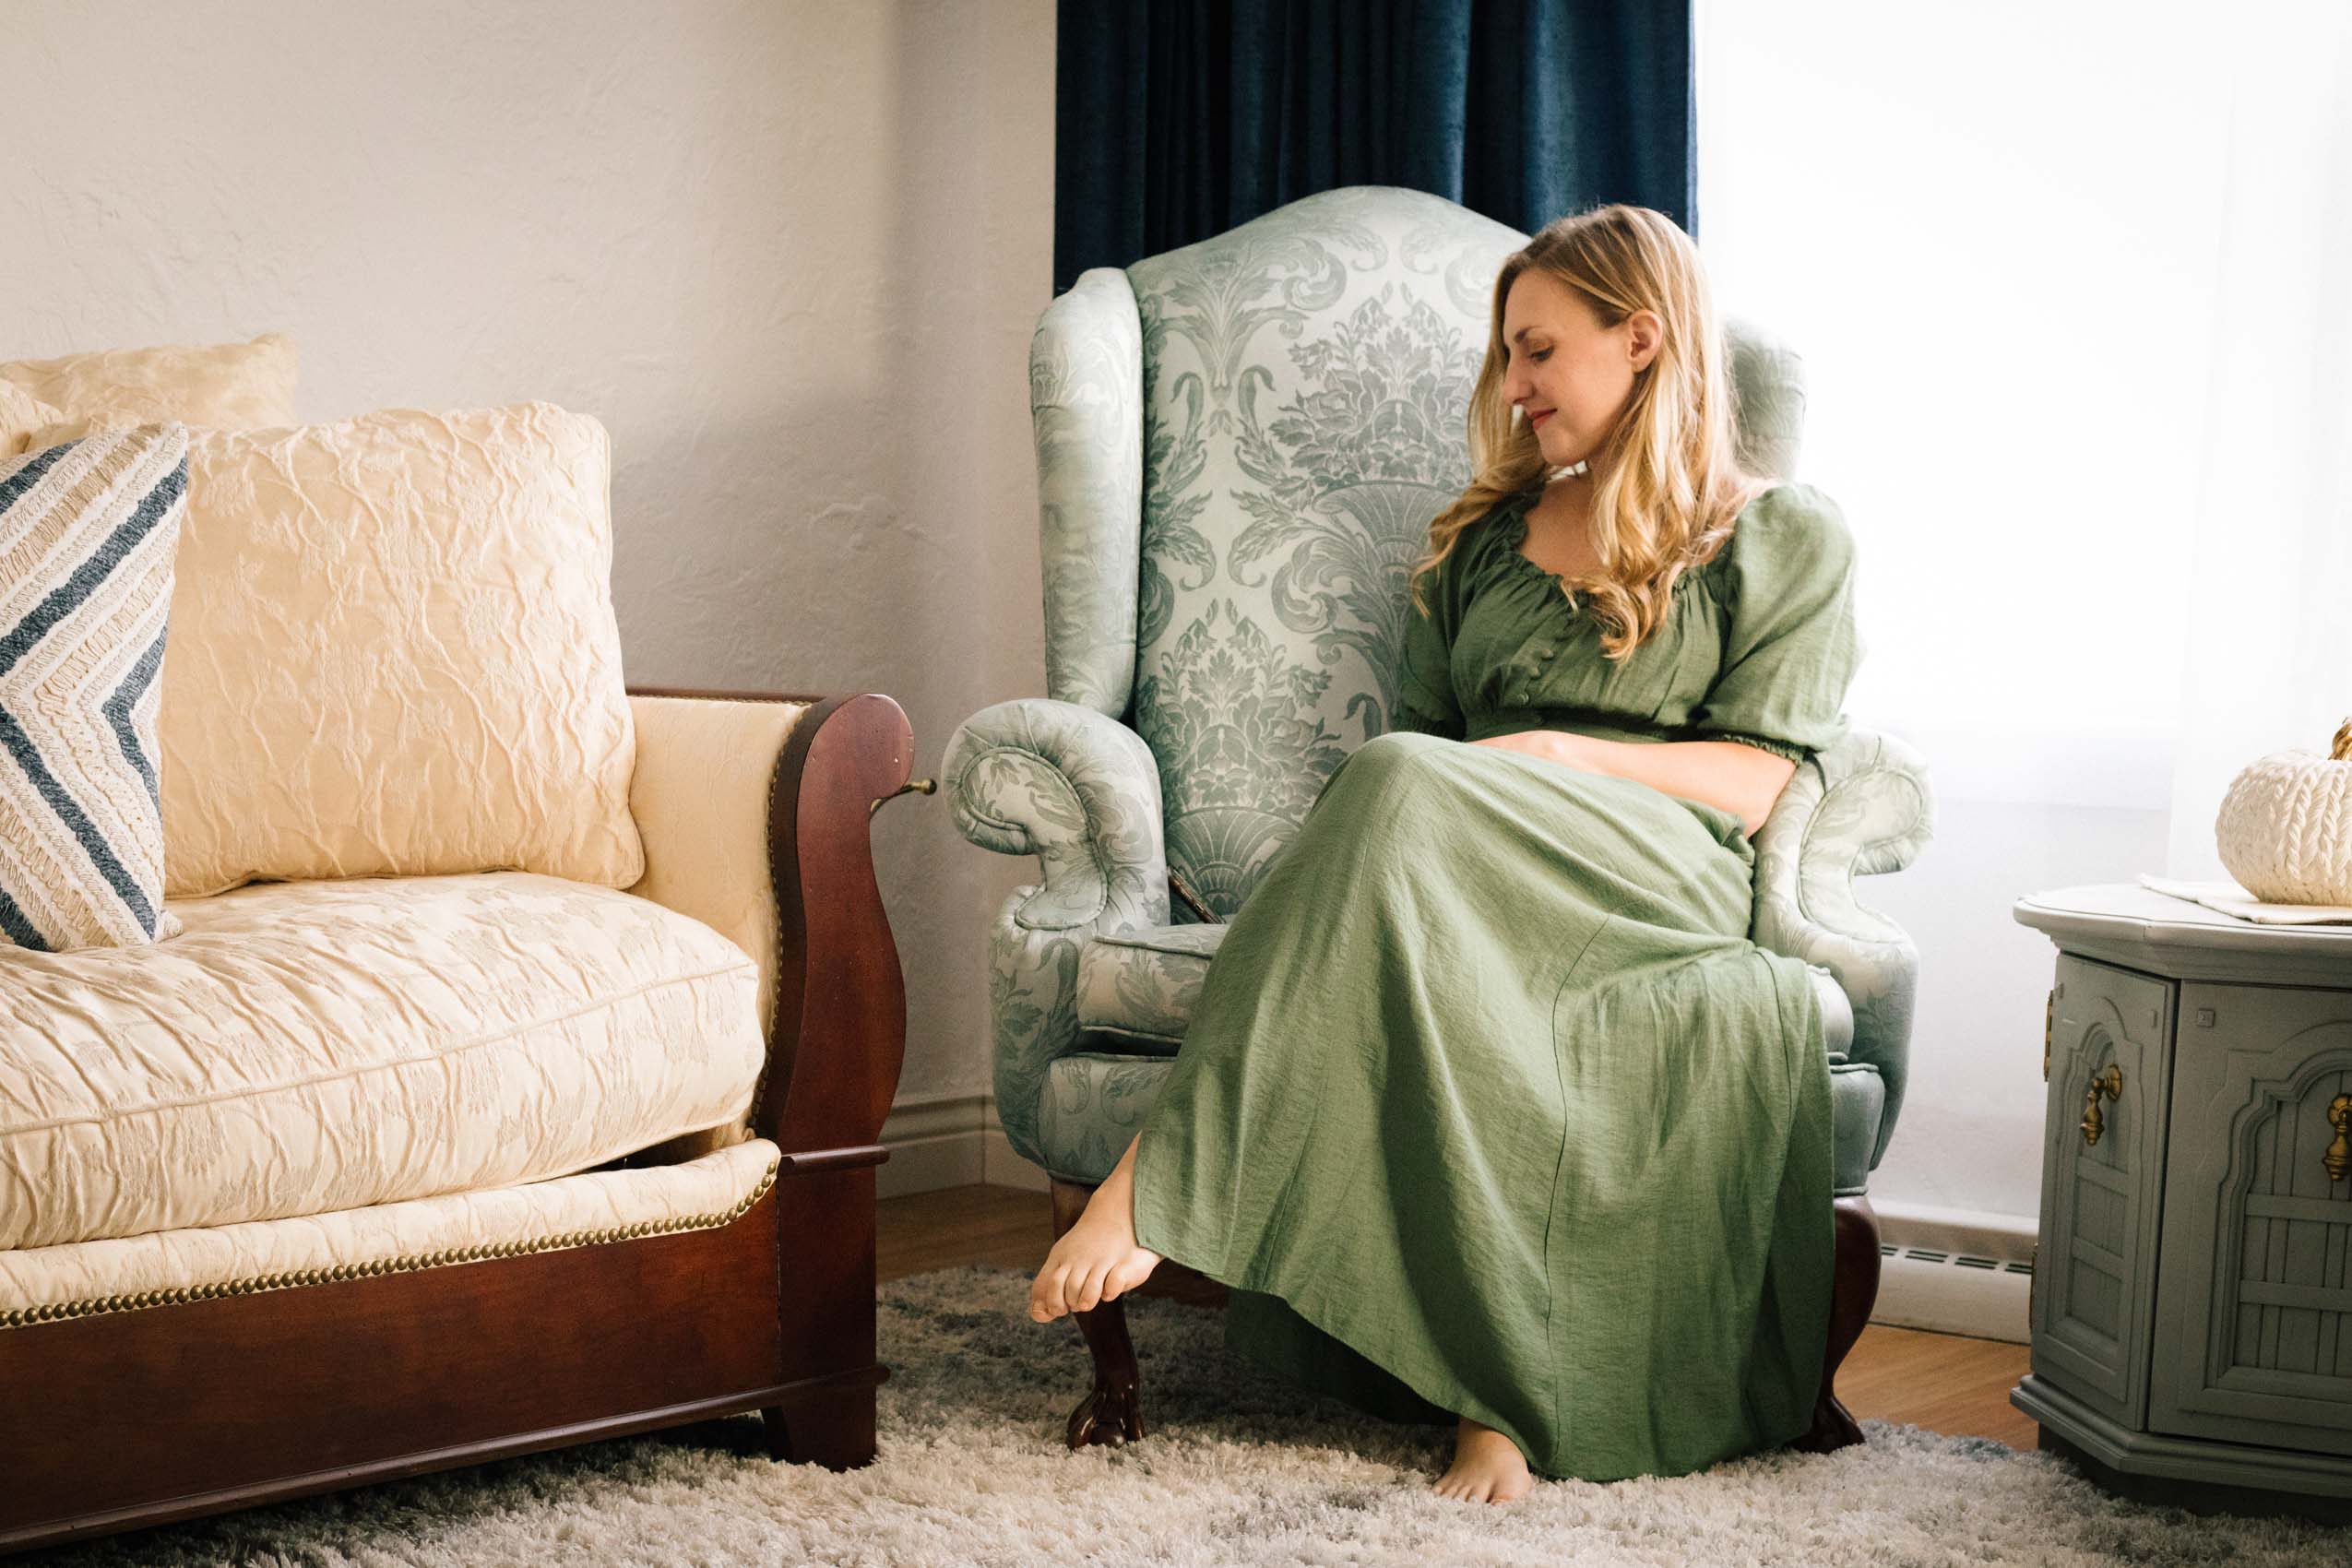
Rit Dye Before and After: Upholstered Wing Back Chair
A few months ago, I drove past this off-white wing back chair that someone put out on the side of the street for trash. The structure was in great condition and it only had a few faint stains, so I knew it would make a great DIY project. Months went by before I mustered up enough courage to give dyeing it a try. I’m proud to say that I love how it came out and I’m so glad I went for it! Now it’s time for me to teach you how to dye a fabric chair with Rit Dye. I’m not an expert, but I hope you find value in learning from both my research, my experience, and my mistakes.
Supplies Used:
- Carpet cleaner & Vacuum
- Plastic dropcloth
- Boiling water
- Old mug
- Plastic measuring cup
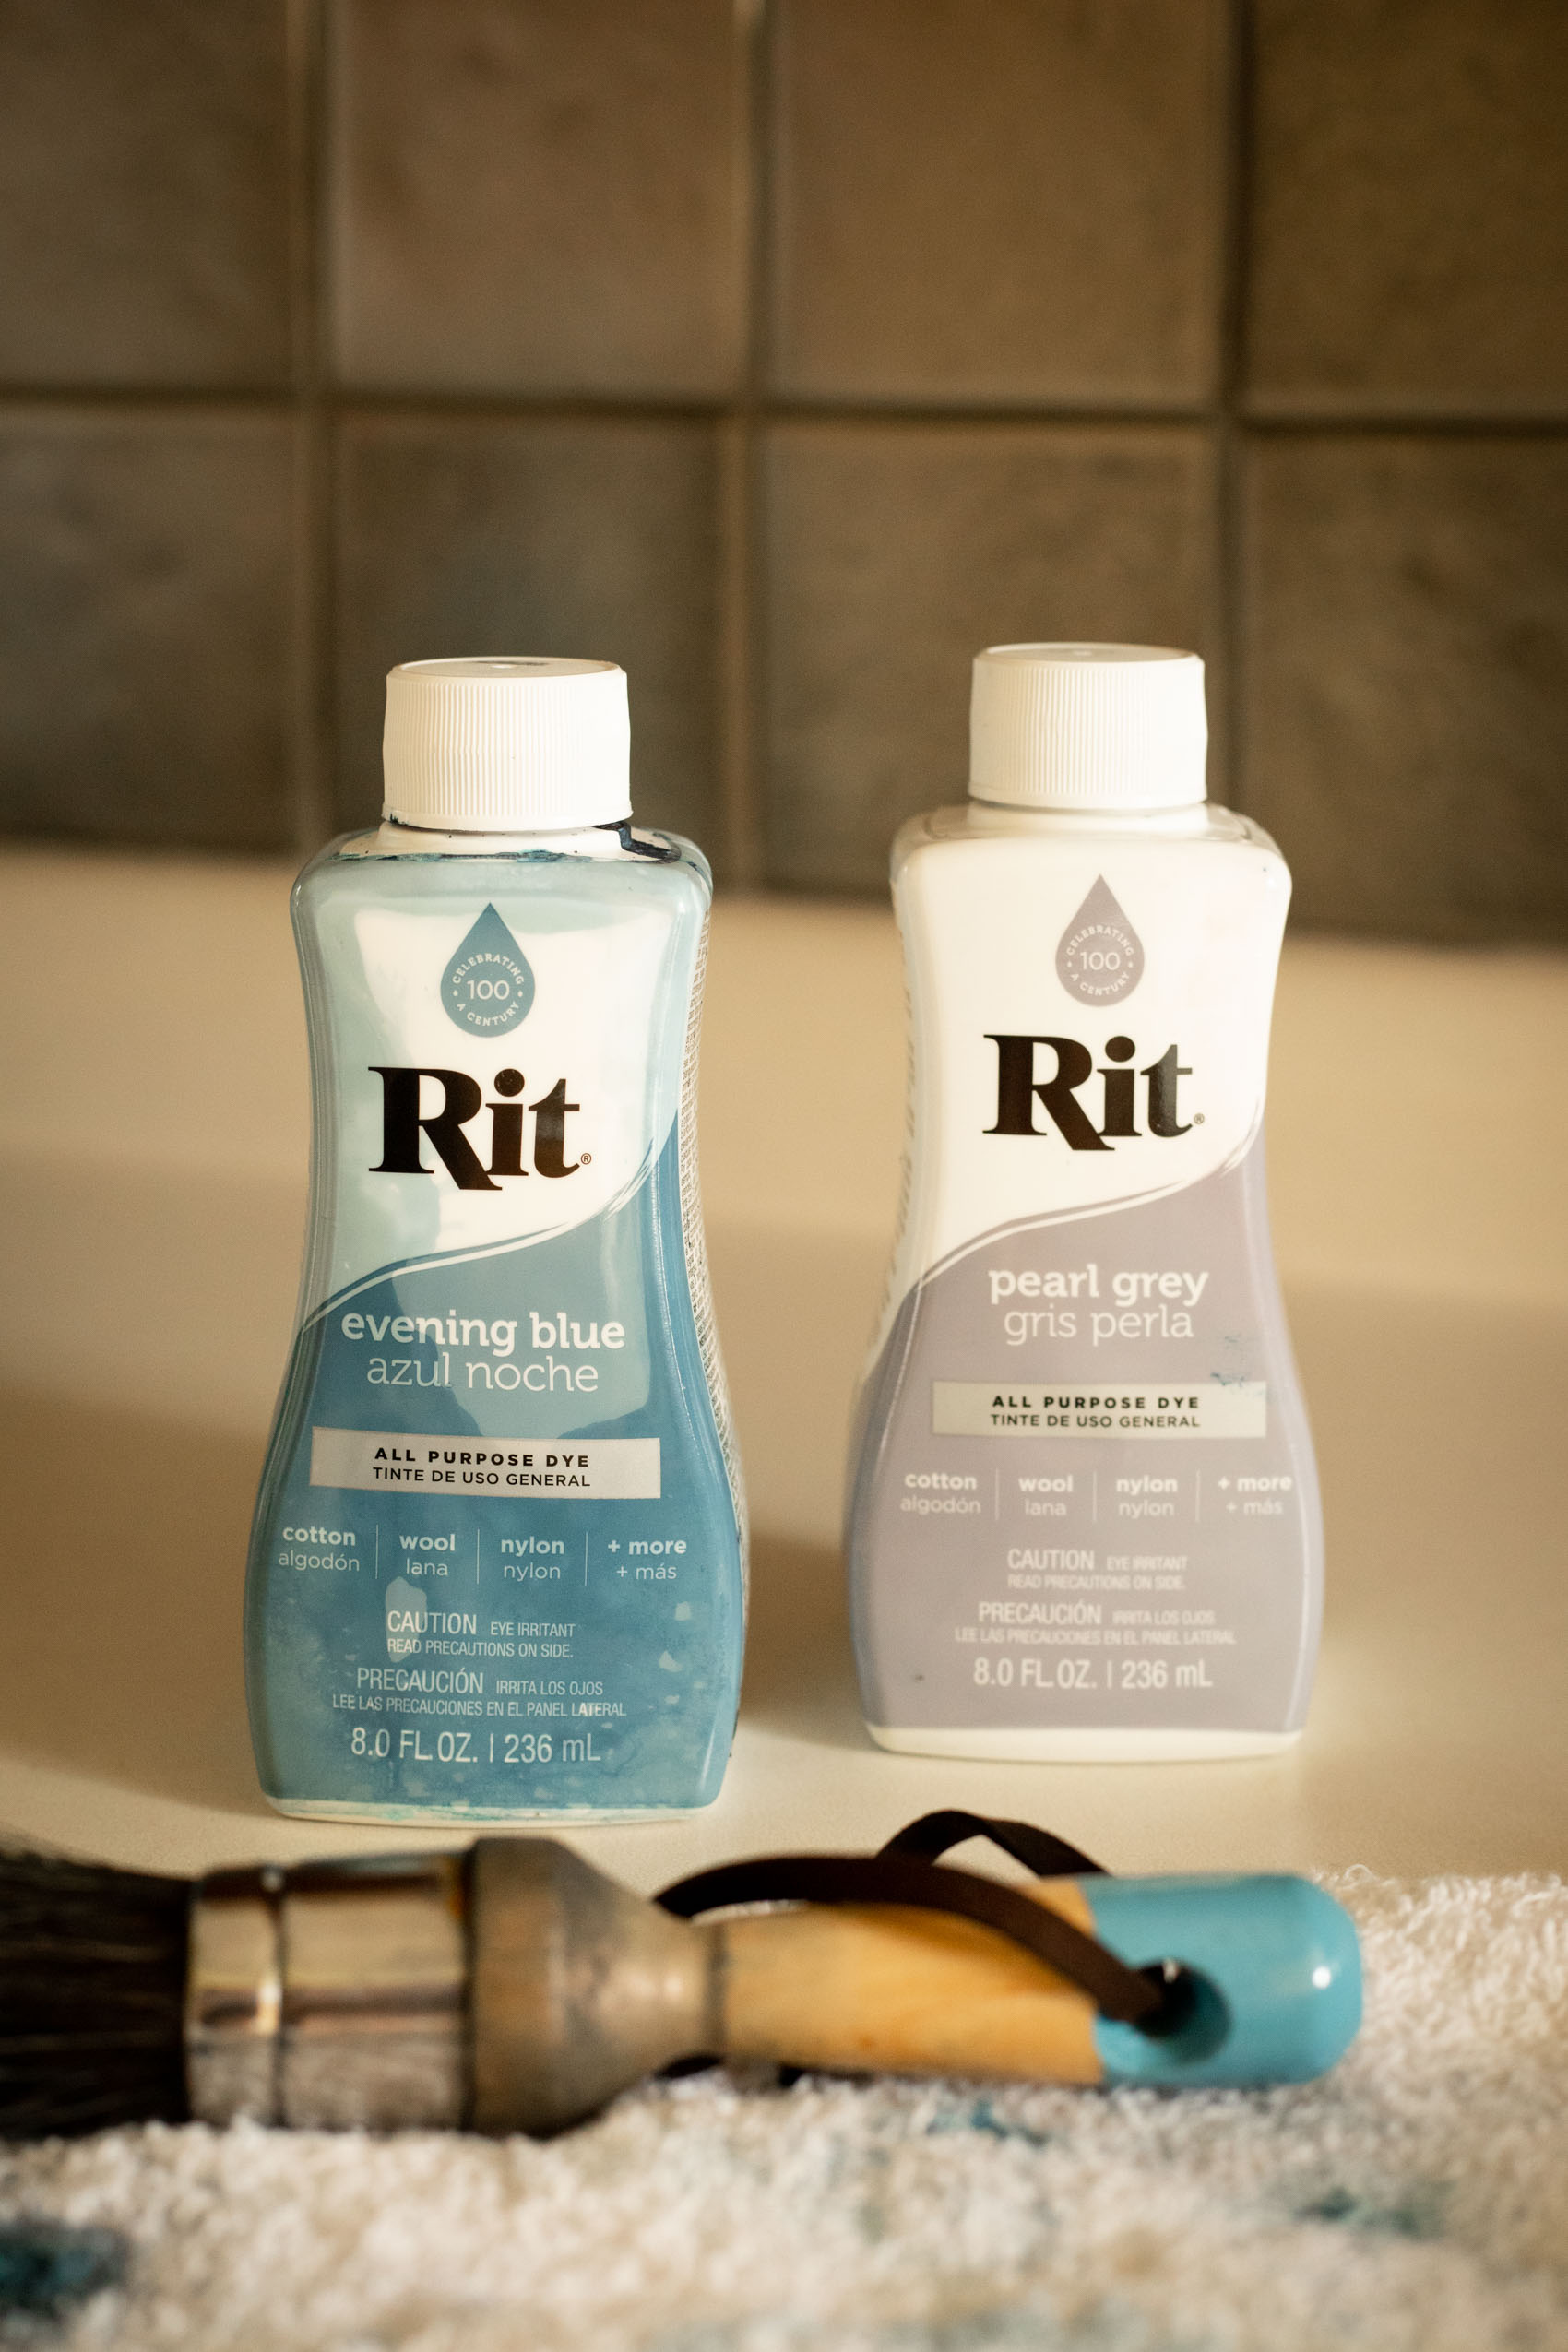
- Rit All Purpose Liquid Dye Evening Blue
- Rit All Purpose Liquid Dye Pearl Grey
- Angle 2 in paint brush
- Round brush (I used the round one with the flat bristles from this set)
- Rit ColorStay Dye Fixative
- Spray bottle
- Hair dryer
- Floor box fan
- Hose
How to Dye a Fabric Chair with Rit Dye
I’ve offered a visual step-by-step of all of the steps for this Rit Dye how to in this video tutorial. If you keep scrolling, you’ll also find the steps for how to dye a fabric chair with liquid dye written out in more detail, too. If you have any questions on the process or directions, please don’t hesitate to get in touch with me on Instagram!
Step 1: Cleaning
I cannot emphasize enough how important cleaning is when tackling how to dye upholstered furniture successfully. Surface stains, beauty products, and food residue might leave lingering substances on your piece that can cause the dye to absorb unevenly. I cleaned this chair with our BISSELL Little Green Pet Pro Portable Carpet Cleaner (which we love! We were going to buy the Spot Clean Pet Pro, but it was out of stock at the time) recently and then followed up vacuuming the day before I started the project. Leave enough time in between cleaning and dyeing for the fabric to dry.
Step 2: Test the Fabric
To get at least some sort of an idea on how the dye will take, test a small, inconspicuous spot beforehand. The composition of the fabric will change how the dye works and how much of it takes.
Honestly, I wasn’t sure what I would get with this piece. The tag on the chair says the body is made from, “70% blended fiber batting (made from reclaimed fibers), 30% polyurethane foam”. So, it is likely that there may be some cotton in the blended fiber batting, but the truth is, I really had no idea. Having any amount of natural fibers in a piece will increase the likelihood that the dye will hold – the more the better. I do think the polyester content of this chair is probably pretty high, so I didn’t have expectations that it would turn out a dark, rich color.
Step 3: Prep the Space
Decide where you’re going to do a project like this. My first instinct was to do it in the backyard (this dye is nontoxic). However, after doing some research online, I kept reading how important it is to keep the dye hot. It’s not easy to access my yard from my kitchen, so I knew I had a better shot of success by doing it indoor. I did have my husband help me taking it outside to rinse and dry it during the process. To protect the kitchen floor, I laid down a plastic drop cloth. Be sure not to slide the furniture on it to avoid holes.
Step 4: Mix the Dye
Understanding the importance of keeping the dye as hot as possible, I boiled 1.5 cups of water at a time to work in small batches. Yes, this was tedious and I probably had to remix dye 5-7 times during each coat. However, I do think this method gave the chair a much more even look compared to if I had mixed everything in a bucket and applied from there.
To measure the dye, I used one of those plastic cups that comes with children’s liquid medicine. We have like 8 and I knew I could just throw this one away after. On the first two coats, I used equal parts of the blue and grey, so 5 mL of Rit All Pearl Grey and 5 mL of Rit Dye Evening Blue.
Once the water was boiling, I poured it into a mug (that we will no longer use for drinking) to help keep the temperature up. Plus, it was handy to hold something with a handle while working. Then, I poured the dye in and mixed it.
Step 5: Start Dyeing
It’s important to work quickly here because the dye will start to cool, which makes it harder to work with. First, I used a 2 in angle paint brush (for no specific reason other than it was what I could find in our basement). I simply painted the dye onto the chair as if it were paint. My goal with this initial coat was just to get as even of a base layer as possible. I worked the brush into all the creases, nooks, and crannies.
Tip: Be sure to tap or wipe the brush on the side of the mug to remove excess before painting. The more drips you can avoid, the more even the find result will be. If you do get a drip or a run, chase it with the paint brush immediately and try to get it to spread out the best you can.
Note: From the moment you put the dye on, it’s going to start drying. Different spots will dry at different rates. Try to be as even as you can when putting it on, but don’t worry about evening it out after. A spot that looks as if you didn’t put enough on might just be drying faster than the rest (so, you might regret it later if you add more dye to just that one spot).
Chair after first coat:
Immediately after I finished the first coat, I started on the second. I wish I would have given the chair at least some time to dry first. The chair was too saturated when I was doing the second coat and it was dripping from the bottom. For the second coat, I opted to use the round brush with flat bristles from this set. This time, I went in circular motions to really encourage the dye to settle into the textured design of the fabric.
Chair after second coat:
Step 6: Spray the Fixative
Once everything was dyed, I poured one bottle of the Rit ColorStay Dye Fixative into a spray bottle. I sprayed the whole chair and then went over it for a few minutes with a hair dryer to set the fixative with heat.
Step 7: Dry Completely
Since it was getting later in the day at this point, I left it indoors to dry with a floor box fan pointing at it to encourage air flow. In the morning, my husband helped me carry it outside.
Step 8: Rinse
Once it was completely dry, I rinsed it off with the hose. As I was doing this, I got so nervous because there were spots that started to look splotchy and uneven. I rinsed each section a few times and then had to walk away because I was scared that I messed it all up. I was already debating rinsing since a few videos I watched said that once dried, it didn’t transfer to clothes, even without being rinsed. While I believed this, I was worried what would happen if the chair ever got wet. So, I ended up rinsing it. I’m so glad I did after seeing how much excess came off. Everything started to even out once it dried and it actually looked fantastic the next morning.
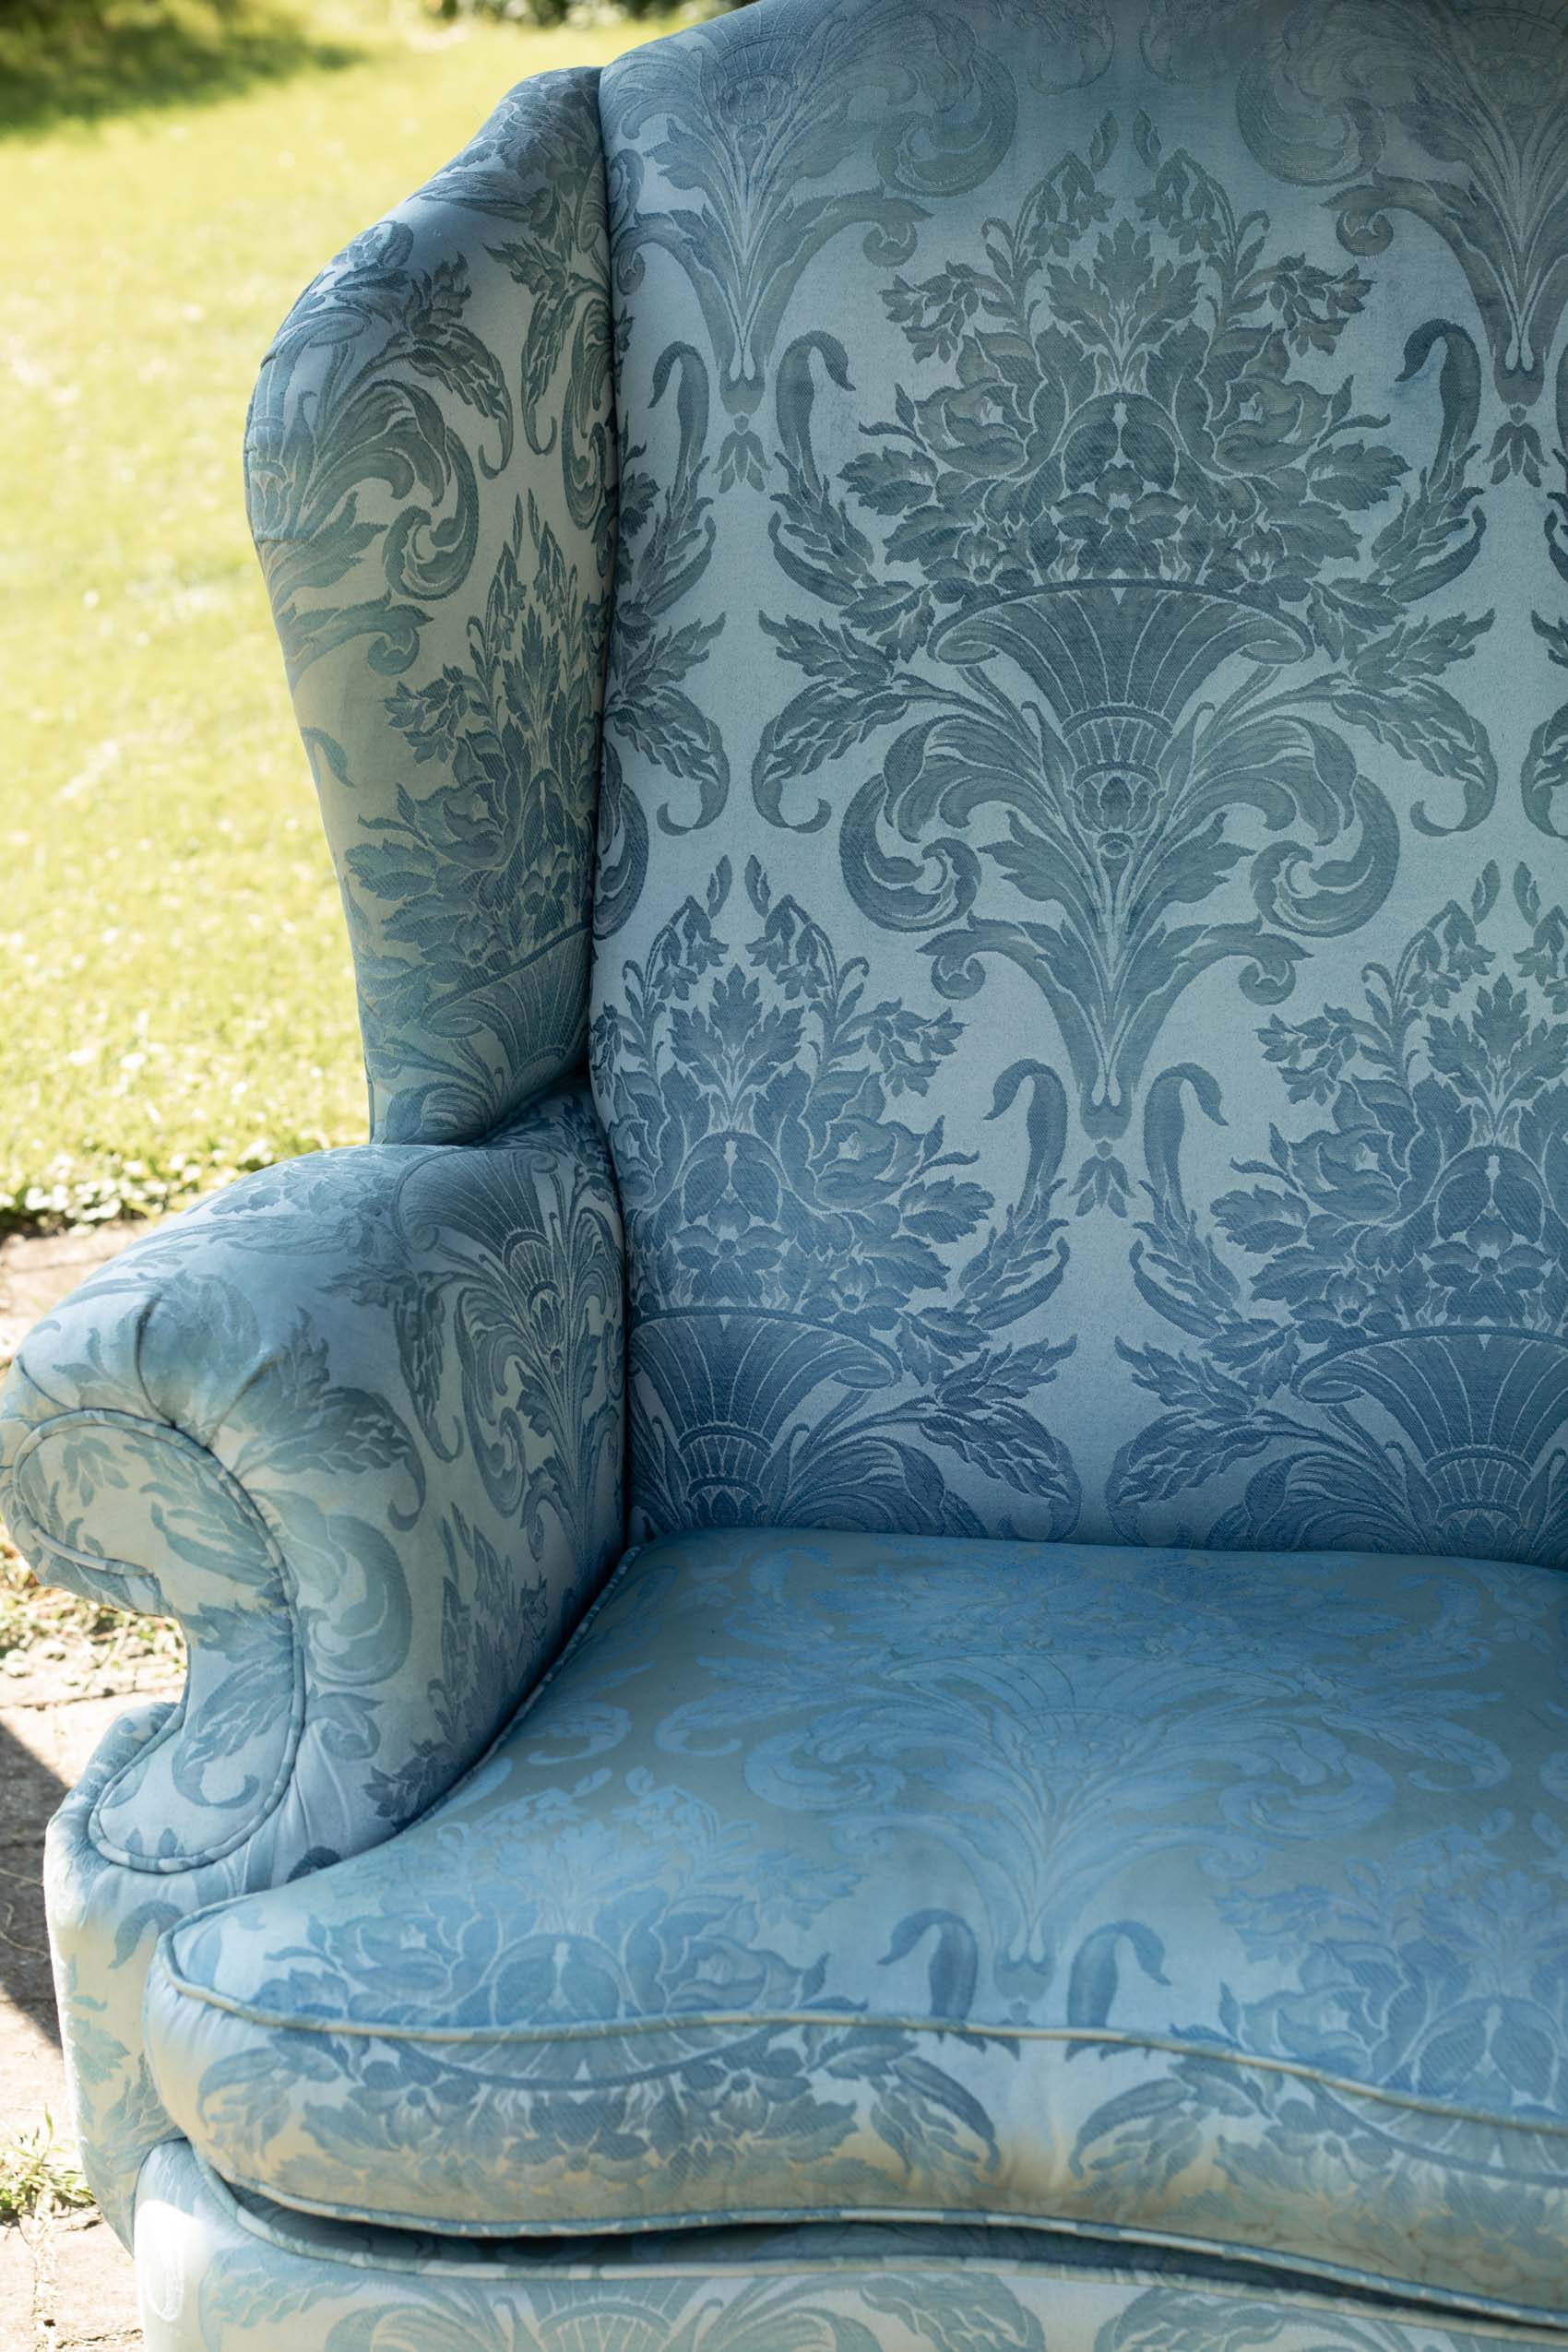
The photo on the left blow shows how the upholstered chair looked outside when we brought it out. The photo on the right shows how it looked after being rinsed and completed dry.
Step 9: Second Round of Dyeing
At this point, I was so happy with the evenness and overall look of the chair. I did lighten up much more than I was expecting. However, the color had a bit of a green undertone to it that doesn’t match the palette of our living room. Since the chair was off-white to begin with, I do wish I would have countered the yellow tinge by adding a few drops of purple dye to neutralize each batch. The lesson here is, don’t just dye the chair a color you want, you have to consider the base shade, too.
Repeating the same process as before, I hit it with 2 more coats of dye. For the first coat of round 2, I used 2.5 mL of blue dye mixed with 7.5 mL of grey (a 1:4 ratio compared to the equal parts I mixed before). The last coat I used all grey dye (10 mL) without any blue. I used the round brush for both additional coats and I did allow the chair to dry off a little in between this time.
Step 10: More Fixative
When I applied the last coat, I worked in sections immediately following the dye step with spraying the fixative and then applying heat from the hair dryer. So, I dyed, sprayed, and blow dried before moving on to dye the next section. Since it got so much lighter after the first rinse, I hoped applying the fixative in sections immediately after the dye was applied might help more of it stay. I set the fan back in front of it and let it dry overnight.
Step 11: Rinse Again
The next morning, we brought the chair back outside to let the dye finish drying. Then, I rinsed it again and left it out to dry off. In the evening, we brought it back in and I put the fan back in front of it again overnight.
That’s it!
What I wish I would have known/done differently:
- The biggest consideration I’ll make next time is choosing a color more wisely. I neglected to think about how the original off-white would bring out a greenish tint in the blue. There is still a slight bit of green in it, but it definitely got closer to what I was going for after the last two coats.
- Knowing how much dye came off during the first rinse, I may have added a larger amount of dye to the water to start with. That is a risky move to make though since it’s much easier to add another round of dye later than it is to attempt to get dye off.
- Like all DIY projects, this definitely look longer than I anticipated. It took me about 4 days total (not 4 full days since I had other things I was doing and 2 of those days were spent drying). It seems like a lot of steps, but I definitely made my life harder by nitpicking the color.
Questions on how to dye a fabric chair with Rit Dye? Just DM me on Instagram or leave a comment on the YouTube Upholstered Chair Rit Dye tutorial.
